
Food is the cornerstone of preparedness. If you’re prepping right, there should be more food than bullets. You’ll need to eat every day no matter what happens. There is a lot of food stored away for my family, and I add to it constantly.
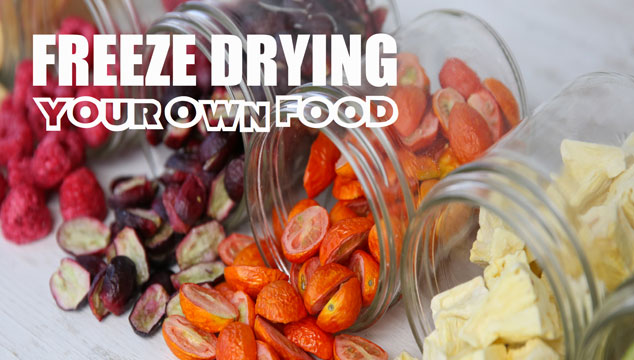
Why Freeze Dry?
The most reliable form of storing food is freeze drying. It’s the Olympian of stored food. There are many companies that sell prepackaged freeze-dried foods with shelf lives of twenty-five years, but in recent years the market has changed with the introduction of personal-use freeze dryers. Companies like Harvest Right have started marketing a machine that performs the same as the commercial products but for individual use.
Freeze drying your own food is a great way to store what you eat. This is important because in a crisis situation we’re under a lot of stress. Making a sudden change in diet adds unpleasant effects to our bodies. So being able to eat familiar foods adds a level of comfort.
How it Works
Freeze drying is a simple process, but there are things that need to be considered. When food is freeze dried, it’s frozen—as the name implies—inside a chamber where a vacuum is created. Water can only exist as a solid or a gas in a vacuum and it’s this little piece of science that gets the job done.
Prepping Food
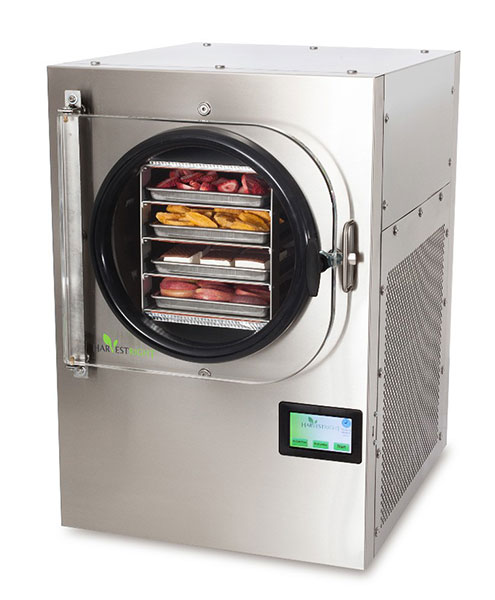
I use the Harvest Right machine. It can hold ten to twenty pounds of food, though I’ve heard much higher numbers from some people. For best results you need as much surface area of the food exposed as possible.
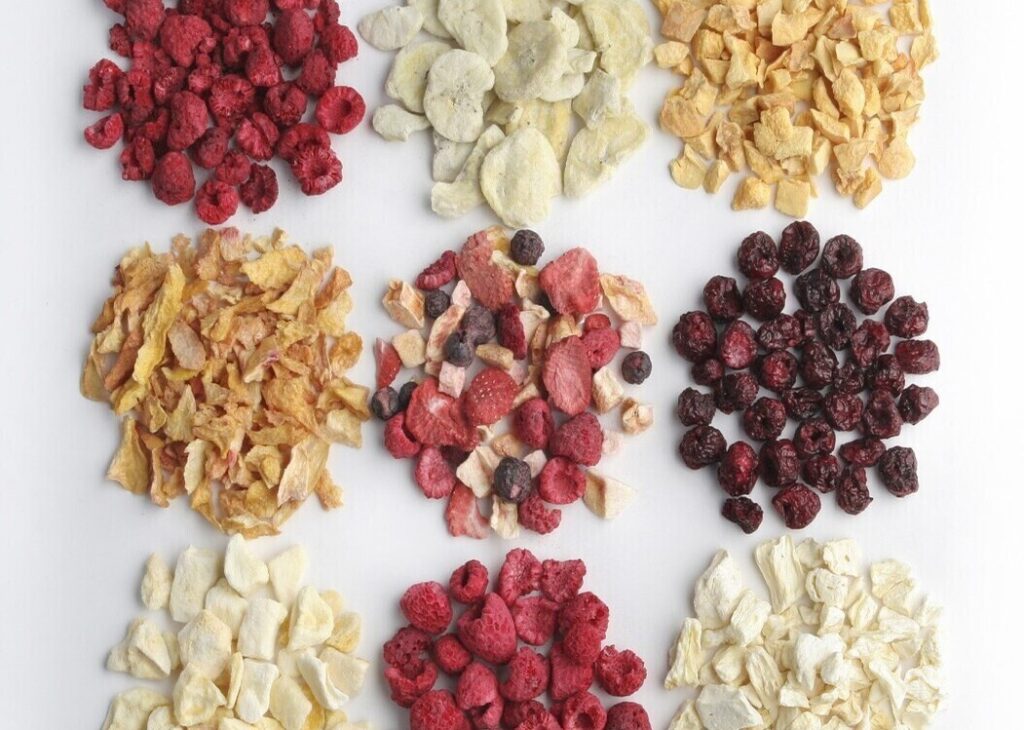
This means cutting meat into chunks or cubes and slicing fruits and vegetables to about a half-inch thick. Things like blueberries that have a skin will need to be punctured or else they will not dry.
The food can be processed either raw or cooked. I’ve done chicken, beef, and pork both ways. Raw seems to take longer in my experience. For meats, I like to cube it into approximately one-inch squares.
Place it on the trays so the pieces are close, but not touching. This will shorten the drying time. Fruits and vegetables are done the same way: sliced or cubed then placed on the trays. I’ve even done shredded cheese by simply pouring it onto the trays to about a half-inch thick.
Another item I like to do is eggs. I put the trays in the freezer while I crack about four dozen eggs into a mixer and beat them. Remove the trays from the freezer and pour the eggs in. The cold trays make the eggs a little firmer and prevent them from spilling. Then the trays are put in the freezer to set up. The freeze dryer sits at a slight angle, higher in the front, to allow the water to drain out the back. So liquids in the trays will have a tendency to run to the back and may overflow, creating a mess. By placing the trays in your freezer first, you can prevent this. While they are cooling down there, I start the freeze dryer. This same process can be done with any liquid food you want to dry, such as soups, stews, or yogurt.
Running the Machine
Once the food is in the machine and the cycle starts, it will freeze to well below zero. The pump will turn on to induce the vacuum. Then the heaters on the racks gently warm the food, causing the water inside to off gas as a vapor, then be pulled out of the food. This process happens several times. Close to the end, it will go through a final dry cycle where the last of the moisture is pulled out.
My machine then sounds an alarm telling you to check it. Open the valve on the drain line to reduce the vacuum so you can open the door and check your food. Take the thickest piece and try breaking it. It should snap like a dry twig and not bend. It should also be very light, like Styrofoam in your hand. I test several pieces to make sure they all snap and are completely dry. The dried food has to be properly stored immediately. If left out, it will begin drawing moisture from the air and start to feel spongy. This is a sure sign it’s no longer dry. Jars and Mylar bags are the best way to store the food. I add O2 absorbers and, in some cases, food grade silica bags to ensure it remains dry. Seal the bags or jars and it is ready for the shelf.
Having a freeze dryer in your home allows for stored leftovers. This is the best way to store what you eat. We often make large batches of comfort meals like chili-mac, stew, and the like to have plenty leftover to freeze dry and store away. In this way, we are constantly building on our supply and ensuring there will be plenty of our favorite foods.
Maintenance
There is a little maintenance that comes with the machine. The vacuum pump oil needs to be changed and the pump flushed. This is a simple process of draining the pump then removing the intake line from the top of the pump. Pour that same oil back through the pump while it’s running. It’s best to do this job outside because the oil will blow out the back of the pump. Once the pump has been flushed, refill it with clean oil. Then it’s ready to go back into service.
There is a kit you can add to the pump that will filter the oil without having to drain or flush it. By adding the filter and a couple of valves, you have the ability to close the loop. This sends the oil out of the pump, through the filter, and then back to the pump. This way you filter the oil and flush the pump at the same time. It makes the oil last longer, increasing its life up to three months.
Conclusion
With your own freeze dryer, you can store home-cooked meals. It is well worth the time and investment to make sure your family has nutritious, safe, and familiar food they will want to eat.
This article was originally published in the Survival Dispatch Insider Volume 1 Issue 3.