It’s hard to beat a gillnet when it comes to fishing. In fact, this tool is so effective in hunting that they are actually illegal in most of the lower US!
This should be an indication for us and something we should keep in mind. We’ve all seen someone use a gillnet on survival shows. But, unfortunately, we’ve also seen folks trying to utilize the wrong net for the same purpose.
If you’re new to the world of this tool, here’s a quick guide to gillnets from construction to use:
- Cast Net vs. Gillnet
- Getting the right mesh size
- Making survival gillnets
- Setting the gillnet
- Using gillnets for hunting
- Purchasing a commercial net
CAST NET VS GILLNET
People often get this mixed up, but a gillnet is not a cast net. The latter is highly effective at catching fish, but it’s simply the wrong shape. The cast net’s mesh is generally too small, and it has pounds and pounds of lead around its circumference.
More Downsides to the Cast Net:
- Heavy — The sheer weight of the cast net will wear you out quickly.
- Used for active fishing — The pole is something we use as well for active fishing. With this method, our attention is focused solely on one activity and nothing else.
- Can be easily lost or damaged — This is the biggest drawback for this tool, especially when you get it hung up on an underwater obstruction.
On the other hand, all you need to do with a gillnet is set it and forget it. Passive fishing allows you to tend to other survival tasks that you need to get done. You can check on and harvest your bounty of fish later on.
GETTING THE RIGHT MESH SIZE

Constructing a gillnet may sound deceptively easy, but there are a few considerations you have to keep in mind. The most important thing to get right for this tool is the mesh size for the fish you’re targeting. Otherwise, you’re wasting your money at worst and restricting your catch at best.
If your mesh is too small, fish will get into it. Alternately, too big of a mesh will have fish swimming right through it.
How to Get the Right Mesh Size:
- Get an idea of the sizes of fish available in your area
- For DIY gillnets — form it into the correct mesh
- For commercial gillnets — buy the right size or modify it
MAKING SURVIVAL GILLNETS
Most people make their gillnets in one way. While this does work, it’s not the correct way; There’s a reason why commercial nets aren’t made with this method.
The Wrong Way to Make A Survival-Style Net:
- Make a reasonably taut cord between two trees.
- Cut cord sections twice as long as the depth you want your net to be.
- Half them and secure with a lark’s head to the top line.
- Add them down the entire length of the top line, spaced at close intervals.

Here’s where people get wrong. When using this technique, find or make a gauge to keep things consistent before you start. All you need is something flat or round–a two-to-two and a half-inch wide will work.
Use this method to ensure that all knots are tied at the same place. This keeps the net even.
- Take one of the outer strands and one of the sets underneath.
- Place your gauge against the top line of your chart.
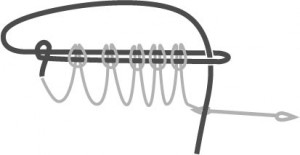
- In the two sections you’re holding at the bottom of the gauge, tie a simple overhand knot.
- Rep this process down the line. The first row of your net is now complete.
- Next, take the single line that hasn’t been used yet and tie it to one of the two loops you created at the far end. This is a little confusing, but this is what makes the edges of the net.
- Do this on both sides as you proceed down the net. At these points, you’ll essentially have a half loop.
- Simply go back and forth, keeping everything equal with your gauge until you reach the bottom of the net.
The majority of people stop here. But, between the two trees at the bottom, we recommend putting another line and connecting the last row of loops to this line with the excess hanging there. It will make putting up your net a lot easier.
How Commercial Nets are Made:
Commercial nets use a somewhat different method of fastening the loops. It’s pretty simple once you get started; it’s just mind-numbingly repetitious.
- Start with a single loop and use the gauge to fine-tune the mesh before continuing down.
- Once you’ve determined the depth of your net, flip it over and repeat the process.
- In the previous step, you are working on the length.
SETTING THE GILLNET
In the commercial method, the depth of the net is established. It’s difficult to explain in words, but there are several YouTube videos you can watch on how to do it.
You’re currently working on the length.
Different Ways to Set Your Net
- Placing the net between two upright Posts and connecting them
The net is then forced into the bed of the water body you’re fishing. This is the most common survival method employed for setting the gill net.
This creates a static net ideal for tidal areas since you can set it up at low tide, and the incoming and outgoing waves will carry fish into it. You can stroll out and check your net at low tide. In a pond or lake, this is a little more difficult.
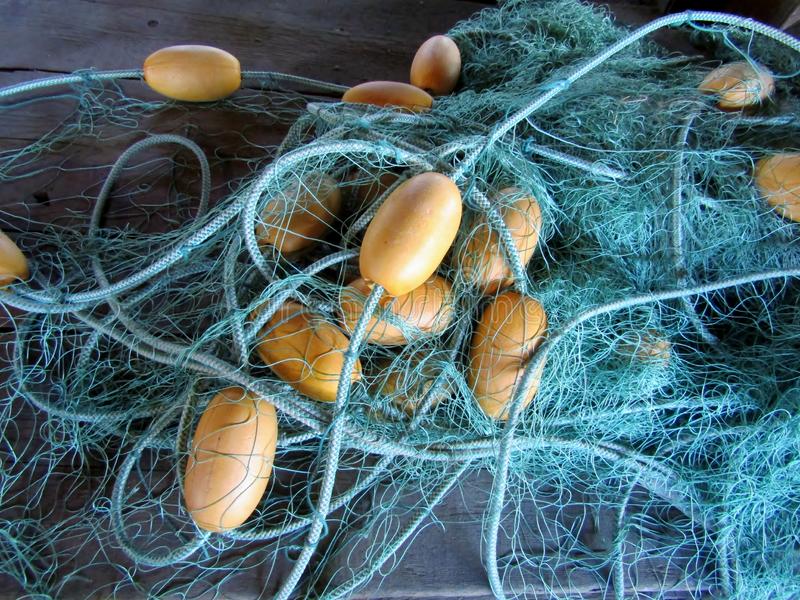
- Attaching floats to the top and weights to the bottom
This set fishes the top of the water column and moves with the current. Depending on the current, you’ll need to anchor one or both ends. You can accomplish this with trees or rocks.

- Bottom Set
Most people don’t consider this method, but it has the advantage of not being easily detected from casual observation.
The net is sufficiently weighted to sink to the bottom of the body of water. Long lines will be tied to both ends of the net, long enough to reach the surface, where the floats will be attached.
It’s a good idea to add a couple of large anchors that can be buried out from either side of the net to keep it spread out. The net is held upright by the two floats at each end. You’re fishing the bottom of the water column this way.
USING GILLNETS FOR SURVIVAL
A gillnet, as we mentioned before, is an excellent passive means of obtaining protein. And it’s not just for fish; You may use it in a variety of ways to help you add meat to your cuisine.
A gillnet should be in everyone’s toolkit, whether you make your own or buy one. It’s just that beneficial.
How to Use Gillnets for Hunting–your only limit is your imagination (and several laws):
- To ensnare wading birds:
- Spread it on the surface of matted weed; or
- Spread it out flat on the ground. Use a counterweight that can pull it up to trap and snare birds feeding through the mesh.
- To trap wildlife:
- String it between trees.
- Drive wildlife into it with bait.
PURCHASING A COMMERCIAL NET
You can create your net out of paracord or another cordage, but you can also purchase a commercial one to have on hand just in case. They’re not too pricey and can be a valuable tool for obtaining meat.
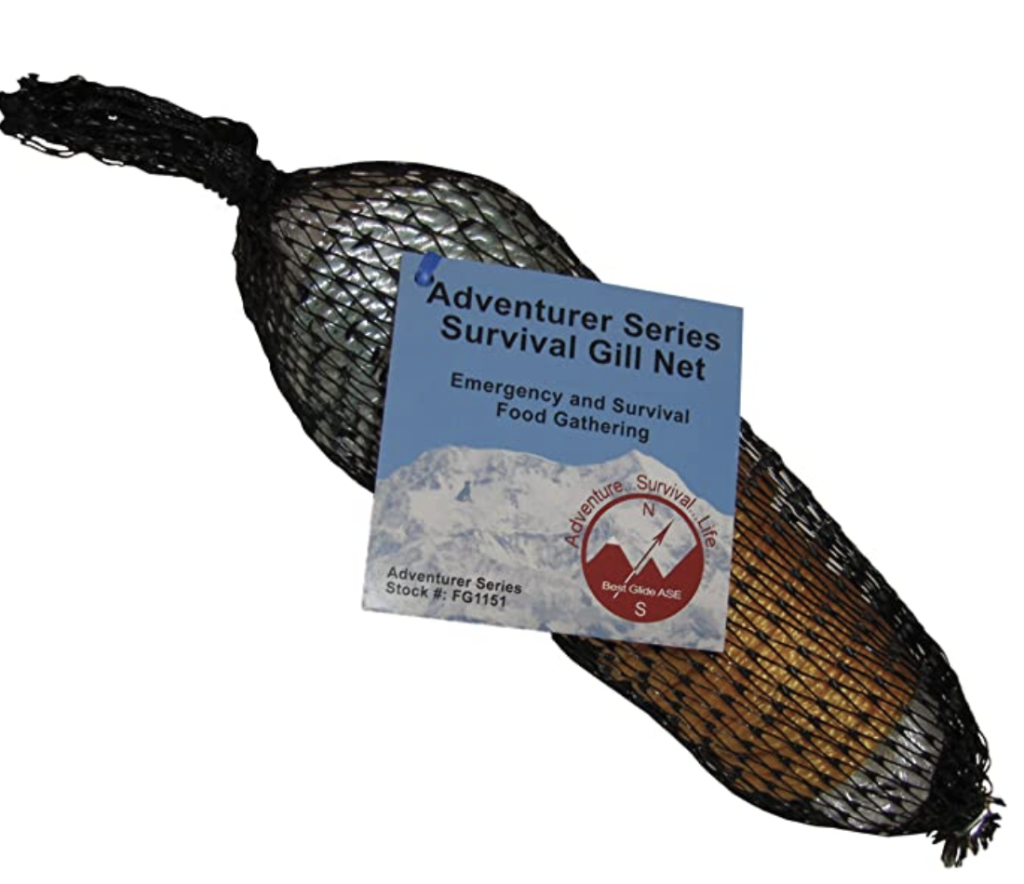
Best Glide ASE Adventurer Survival Gill Net
Best Glide makes a good net that you can find on Amazon. It comes with weights, making it very simple to use.

Drawbacks of the Best Glide
- It’s constructed with monofilament–a nightmare to set and untangle
- Too delicate
- Large fish or other aquatic critters can easily damage it.
Survival Net Camper
On Amazon, you may buy a net created by Survival Net. It’s called the Camper, and it’s made of heavier duty materials.

Here’s a link to Amazon for this version: https://www.amazon.com/gp/product/B06XNKKK2R/ref=as_li_qf_asin_il_tl?ie=UTF8&tag=angerameri-20&creative=9325&linkCode=as2&creativeASIN=B06XNKKK2R&linkId=f8d07e53cb5ddfdf91db7958bf4d98ff
Drawback of the Camper
- It does not come pre-weighted.
What makes it great
- It weighs less than five ounces and fits in a quart bag
- Constructed from a multi-filament material — this will last much longer than monofilmanet
