
 Tourniquet Purpose
A tourniquet (TQ) is designed to encircle the limb with a wide strap that is then tightened with a windlass rod. As torque (by twisting) is applied to the rod, it tightens the strap making it compress the extremity (arm/leg) causing it to compress the blood vessels and subsequently decreases and stops blood flow past the application site. In short, it can prevent you from bleeding out and dying while increasing the time you’ll have to obtain aid to treat the injury.
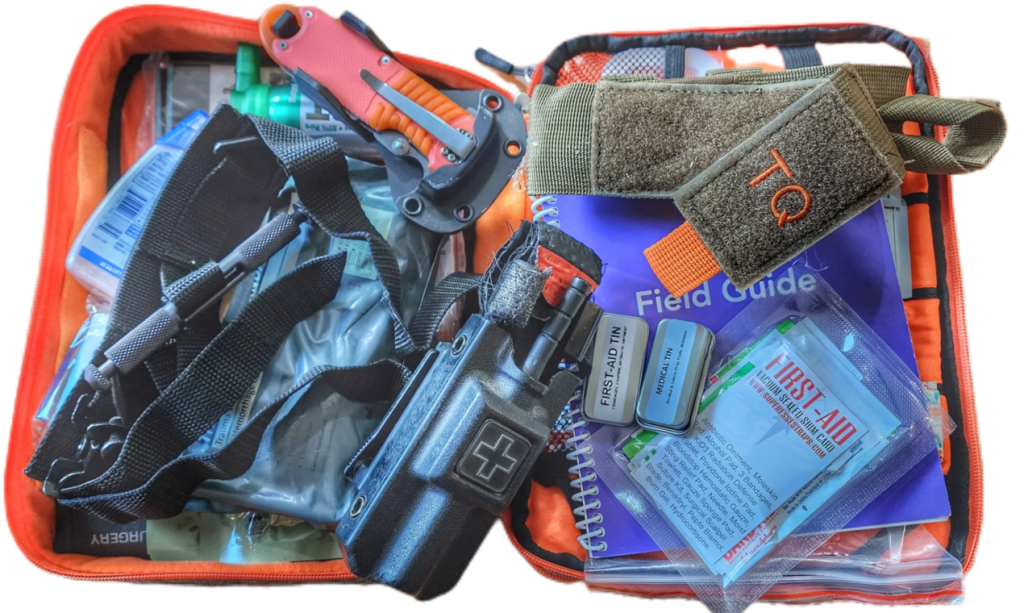
Tourniquet Carry and Staging
Keep a tourniquet easily accessible and always stage one on-body when carrying a firearm. Stage it for quick application. This means attached on your person (ankle, hip, fanny pack, etc.) in the same place each time your wear it so it increases “muscle memory” allowing you to grab it and deploy with little complex thought. (Because when a TQ is needed, there will already be much to process).
Assess
Assess the injury. If it is obvious that direct pressure will not slow or stop the bleeding, a TQ is necessary. We dive deep into diagnosis and first-response trauma assessments in our Worst Case Scenario First-Aid Guide. The guides focuses on how to react and treat injuries/illnesses when EMS and Hospitals don’t exist or are unavailable.
Apply
Apply the TQ to the injured leg and/or arm 2-3 inches above (the side closest to heart) the wound while avoiding joints. Do so by wrapping the strap around the extremity (can be expedited if the TQ is pre-staged with a large loop) ensuring that you run the strap through the outer polymer loop opening (friction buckle). Pull the strap as far (tight) as you can cinch around the extremity, then attach it to the velcro. Tighten the windlass rod until the bleeding stops (or is manageable with additional TQs, pressure bandages, wound packing), then secure the rod in the windlass clip. Fold over the windlass strap and mark the time.
Training
Train with your TQ by aiming for a decreased time (time it takes to collect and properly apply) and proper application. Also train with a simulated injured arm and apply using the one hand method.
Always keep a TQ at home, in your vehicle, and on your person (EDC) when applicable (such as when carrying a firearm or in exposed public areas).
Pre-stage the TQ with the windlass strap open. Create a large loop and adhere end of TQ so it just barely attaches to itself on the end (red tab). This creates a slide on loop and skips the use of fine motor skills needed to run the tabbed end through the friction buckle.
Know the Two Main TQs
CAT Tourniquet
Adjustment strap uses velcro to ensure the tourniquet doesn’t loosen.
Has a smooth plastic windlass for tightening.
The end of the adjustment strap is red making it easier to locate.
There are 2 hooks for hooking in the windlass with a velcro strap which prevents windlass from slipping out.
Application on yourself is quicker than SOFT T – Wide
SOFT T – Wide Tourniquet
Adjustment strap uses a friction buckle system which prevents it from loosening.
Has a textured metal windlass for tightening.
There is a metal latch on the adjustment strap which allows it to be applied to a trapped limb much easier.
Has a triangular latch which locks on to a groove on the end of the windlass.
Is preferred for lower limb bleeding.
Gear review covering a few different types of tourniquets.
How to Use a Tourniquet
If possible, apply pressure on the wound in order to aid in stopping the bleed.
Thread the tourniquet as high as possible on the extremity.
Pull the adjusting strap until tourniquet is secure, if using a CAT, secure with velcro.
Twist windlass until bleeding stops.
Secure windlass into the latch system.
Write down the time the tourniquet was applied. It is advised not to leave a tourniquet on for longer than 2 hours to prevent permanent nerve damage.
Improvised tourniquet
You can make your own tourniquet using a piece of fabric or a T-shirt. You need to ensure the material is long enough to wrap several times tightly around the limb, and the material should be 2-4 inches wide in order to apply enough pressure.
How to Apply an Improvised Tourniquet
Wrap fabric/shirt around the injured limb several times making sure its high and tight.
Tie a square knot with the ends.
Insert a stick or something long and sturdy enough through the knot to create a windlass.
Lifting up slightly while twisting the windlass will aid in preventing pinching of the skin.
Remember a windlass needs to be secured in order to be effective, use another piece of fabric, shirt or bandage to secure it.
This article was originally written by the Grayman Briefing. Stay in the know. Sign up for Intel and Situational Awareness alerts pushed to your phone on emerging threats and preparedness warnings. Click HERE to subscribe to the Grayman Briefing.
=====
Become a Survival Dispatch Insider …
We bring together survival enthusiasts and preppers to share skills and knowledge, so you can enhance your preparedness for emergencies and ensure the safety of you and your community.
The Results You’ll Get …
Our community, courses, and memberships are pretty special. We focus on the ways it will make a huge difference in your life.
Here are a few of the things you’ll be able to do as a member of Survival Dispatch Insider …
1) Improve your emergency preparedness by learning survival skills and strategies from experienced preppers.
2) Build lasting connections with like-minded individuals that share your passion for safety and readiness.
3) Access a wealth of knowledge and resources to assist in protecting you and your community during unexpected situations.
Click HERE to get started.
=====