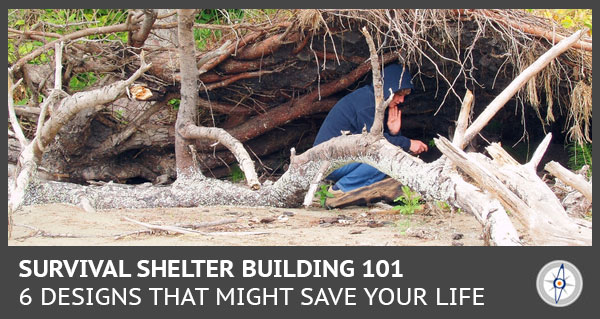
If you are familiar with the rules of survival, you know shelter is a top priority. You have to get out of the weather. Your core body temperature is not something you can afford to mess around with. A slight variation of even a couple of degrees higher or lower than the goal of 98.6 degrees Fahrenheit can cause serious problems. Hypothermia or heat exhaustion can kill you fairly quickly.
In the survival world, you will learn you have about three hours to regulate your body temperature before things start to get ugly. In order to get warm, or to cool down if you are in a hot weather situation, you need shelter. You need to stay dry as well. Even if it is hot outside, the last thing you want to do is allow your skin to remain wet. That leads to a whole host of problems that will hamper your ability to survive.
Before you build just any shelter, you need to do a little recon. There are plenty of considerations to evaluate before you just jump in and start throwing something together. You need to know what you are working with.
Survival Shelter Placement
This is a huge factor in the success of your shelter. There is a right and a wrong way. Placing your shelter in an area that puts your life at risk is counterproductive. You need to search for a good spot. Don’t just randomly pick a spot because you don’t want to go any further.
Water
Never build your shelter close to water. Mother Nature can strike at any time, causing a river, stream or lake to quickly overflow and destroy your shelter or worse, put your life at risk.
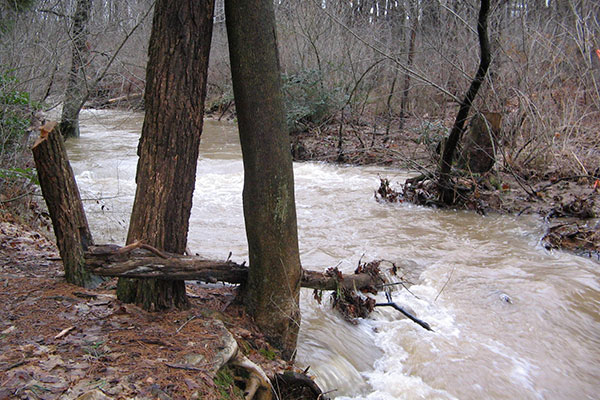
Even if there isn’t an obvious body of water, do a little scouting to make sure you are not putting your shelter in an area there is run-off. Look for indents in the ground or areas that are muddy. These are areas that are getting moisture from somewhere and you don’t want to be anywhere near it. Anything downhill is prone to some kind of flooding.
Wind
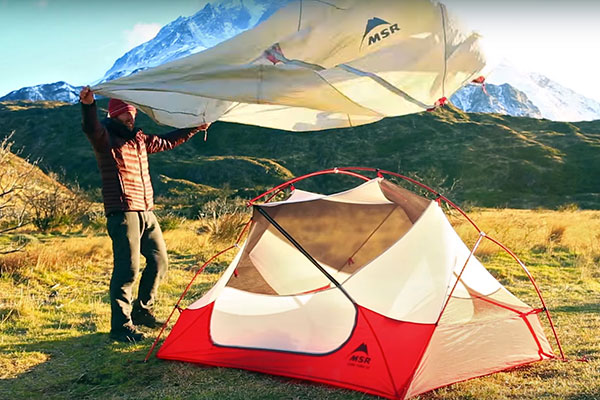
You don’t want to put your shelter on top of a bare hill. A small breeze can feel like a strong wind when there is nothing to break the wind. You also don’t want to position your shelter in a way that will create a wind tunnel of sorts.
via gearjunkie.com
Your shelter opening should face the opposite direction of the prevailing wind. If you aren’t sure which way the wind is coming from (and there is almost always going to be some wind) lick your finger, stick it in the air and turn until you feel the cold breeze. That is the direction the wind is blowing.
Bugs and Animals
Pay attention to where you are building. Look for signs of animal tracks and bug activity. You don’t want to build your shelter in the middle of an animal thoroughfare or even where they tend to bed down or hunt. You are invading their territory. Be a good neighbor and stay out of their neighborhood as much as possible. You also don’t want to be setting up camp where there is heavy insect activity. Look around for pools of standing water that will attract mosquitoes. Check for anthills as well.
Trees
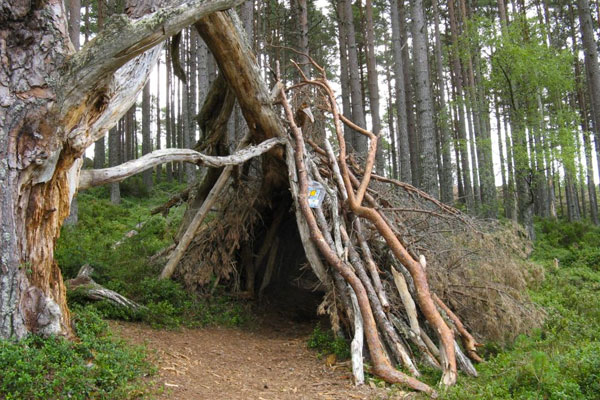
Trees are a double-edged sword. They can provide a nice windbreak and even help shield from heavy rains. However, tree limbs can fall without rhyme or reason. These falling branches are often referred to as widow makers.
via apocalypticsurvivalguide.com/
If you are going to build a shelter in a treed area, get as close to the trunk as possible. Inspect the trees and make sure there are no dead limbs just waiting to fall. If there are strong winds, your best bet is to avoid being in the trees altogether. Look for an area that outside the range of a falling tree limb.
Rocks
Rocks are another good and bad thing. Large rocks and boulders are great wind blocks and firewalls. Depending on the climate and terrain, you need to consider what may be living under those rocks. Be wary of scorpions and snake dens. Don’t place your shelter against a rock cliff. Falling rocks can be deadly. Rocks can slide or fall with no cause at all. Move your shelter far enough away to avoid being hit by a wayward rock.
How Big?
Before you start building your shelter, you need to know what you are building. How many people need shelter? Some shelters are suitable for a single individual and then there are those that are better suited for several people.
Another thing you want to keep in mind; a bigger shelter is going to be harder to heat. Ideally, you want a shelter to have a nice low roof, to trap in the body heat you produce. So, if you have a single person needing shelter, a teepee style shelter isn’t going to be your best option in a cold weather situation—if you are not going to have a fire in the tent. That brings us to the next consideration.
Fire or No Fire?
Not every situation is going to call for a fire and not every situation will even allow for a fire. If you are hiding, you need to be careful you don’t give away your location with a plume of smoke. You may not have the necessary tools or skills to start a fire. This is definitely a case where you will want to keep your shelter nice and compact to take advantage of body heat.
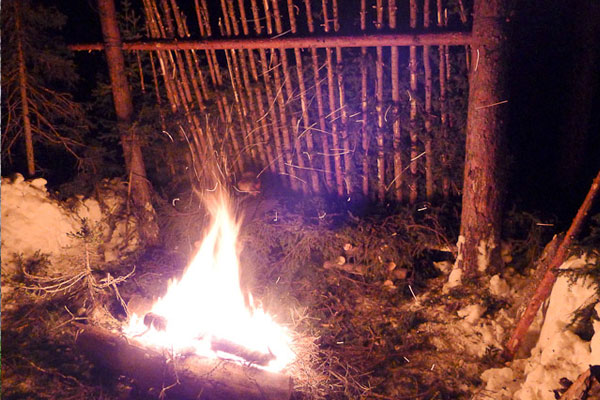
via paulkirtley.co.uk
If you are going to have a fire, you need to have a way for the fire to breath and the smoke to escape. Depending on the type of shelter you have in mind, like a lean-to, it is a good idea to have some kind of reflective wall that will force the heat of the fire back into your shelter opening while allowing the smoke to escape. This is a good option for an A-frame shelter as well.
Off the Ground
In a wet, cool or cold weather situation, you never want to sit or lay on the ground. Never. The ground will zap away your body heat and defeat the purpose of your shelter. There are a couple of different ways you can get off the ground.
A simple barrier may be all you can do in an emergency. This is basically putting down several inches of pine needles, leaves or even a Mylar blanket to keep you dry and off the ground. Ideally, you would want to build your shelter floor a minimum of a few inches off the ground. This not only keeps you from getting chilled, but can go a long way from keeping you from being eaten alive by various insects. If it is raining out, getting off the ground a few inches ensures you don’t find yourself lying in a puddle.
When you are calculating how big to make your shelter, make sure you allow enough headroom for your elevated shelter floor. This also means you will need to collect more materials, which can be an issue in a dire emergency.
Survival Shelter Designs
Okay, you know where to put the shelter and you know how many people you need to shelter, so let’s cover some of the most common designs or shapes. Almost all of these shelters can be constructed with bare branches, leafy branches, dried grass, mud, rocks or whatever else you can find in your environment. If you have an emergency blanket or tarp, your shelter building is going to be fairly quick and easy.
A-Frame
The A-frame is a great shelter for one person. It can be made a little wider to accommodate two people. Basically, the shelter is designed with an “A” on each end. It is a small triangle shelter that can be made any height with the sides filled in with branches or grass.

If you have a tarp or blanket, simply make the frame and throw the blanket over it. Use rocks to hold the ends of the blanket or tarp on the ground. It helps to close one side of the A to trap more heat and provide a little more shelter. Your fire can be placed at the opening of the shelter. This is not a shelter where a fire can be placed inside.
Teepee
This is just as it sounds. However, it doesn’t necessarily need to be as tall as what you have seen on television. You can make it just high enough to sit in. This is a great shelter for several people to shelter in. You can opt to have a fire in this shelter, assuming it is kept small and you leave a nice opening at the top for the smoke to escape. Keep in mind, if it is raining heavy, your fire sitting directly below the opening may be extinguished.
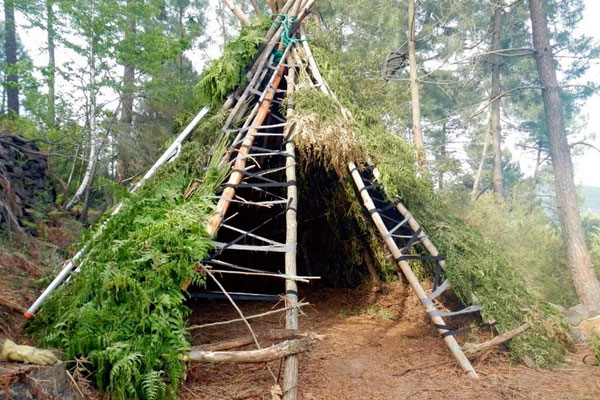
via shtfsurvivalsecrets.com
Your teepee frame can be as simple as three long poles or branches tied together at the top. Make sure you drive the ends into the ground a bit to prevent the shelter from blowing over. Fill in the spaces between the main structure with leaves, mud or whatever else you can find.
Lean-to
This is a great shelter for several people and can be used in summer or winter conditions. It is more of a shelter meant to keep the sun off you. It isn’t going to do much to keep you warm. You can build a fire under the shelter, with the smoke escaping out the sides.
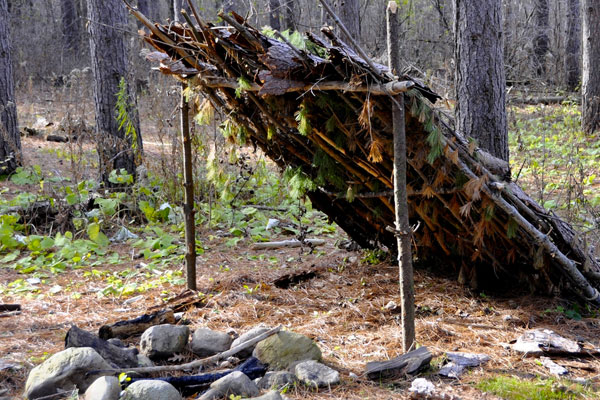
The shelter is made by positioning a long branch or a rope between two supports, like trees. Long branches are leaned against the support to create a wall. The height can be as short or as tall as you like.
Igloo/Snow Cave
This may be your only option in a heavy snow situation. Building an igloo can take time and it is definitely tricky business. You will want to pick a large snowdrift or a nice pile of snow to make your snow cave. You will need some kind of tool to tunnel in, as low to the ground as you can. If the snow is deep, you will need to tunnel down. This will make it much easier for you to construct the cave. You won’t have to worry about walls or a ceiling in this situation. Simply dig out a hole in the center, leaving about 2 feet of snow on top for the roof.
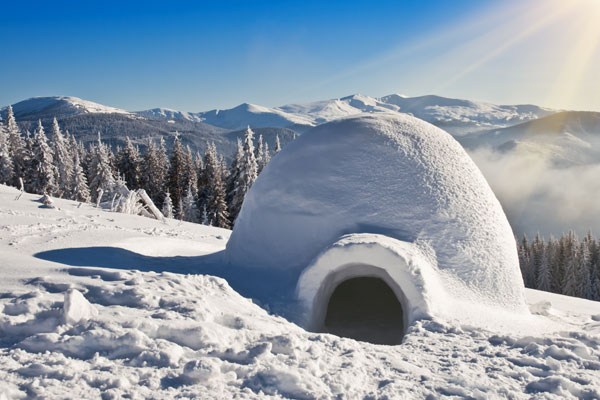
via rareearthadventures.com
If you have something like a bucket or container to use to make forms, this is a great option to make a shelter on the snow. Pack the snow into the container or create blocks with your hands. Stack the blocks to create walls in a circle. The circle should grow smaller as it goes up. This will give you a nice sturdy roof with plenty of head space inside.
Debris Huts
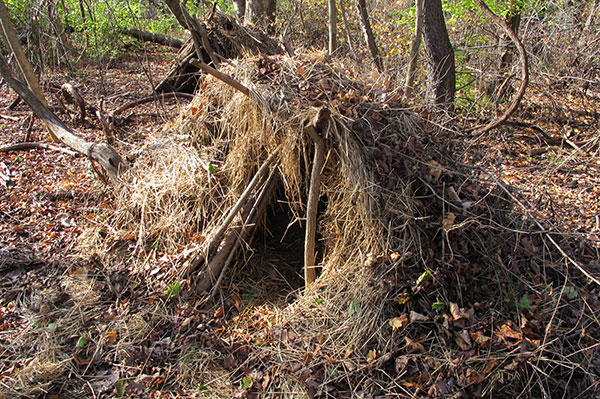
This is exactly as it sounds—you gather debris from the environment and mound it up to create a small shelter. These shelters are best for a single person. They will likely only have about 1 to 2 feet of space inside—just enough for a single person to lay in.
via exploretruenorth.com
A debris shelter is great for emergency situations when you need shelter but don’t have the resources, time or tools to build one of the more elaborate shelters. Don’t forget to put some of that debris on the ground so you are not lying directing on the earth.
Wigwam
This is a nice, long-term shelter plan that is suitable for several people. This is a great option if you are in an area with thick vines or plenty of young, green saplings. Basically you will drive one end of the branch into the ground and bend it over to create a U.
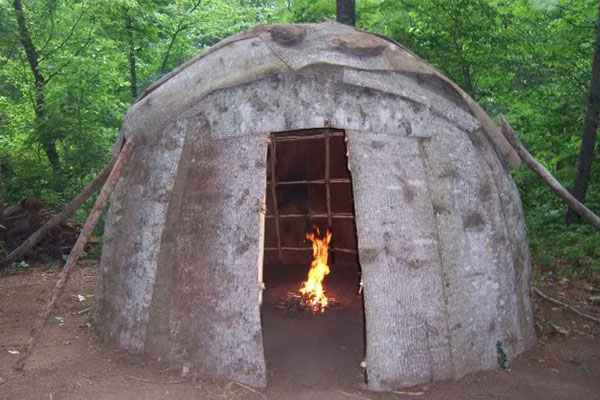
You would continue doing this until you created a shelter the size you need. Fill in the empty spaces with debris, branches, leaves or more vines. You can leave a space open in the roof to create a chimney for a fire.
Final Thoughts
A survival shelter could be the very thing that saves your life. It is important you know as much as possible about building a shelter in any situation. Survival shelters require a little ingenuity and an ability to think outside of the box. You never know what resources will be available to you.
For another
=====
Become a Survival Dispatch Insider …
We bring together survival enthusiasts and preppers to share skills and knowledge, so you can enhance your preparedness for emergencies and ensure the safety of you and your community.
The Results You’ll Get …
Our community, courses, and memberships are pretty special. We focus on the ways it will make a huge difference in your life.
Here are a few of the things you’ll be able to do as a member of Survival Dispatch Insider …
1) Improve your emergency preparedness by learning survival skills and strategies from experienced preppers.
2) Build lasting connections with like-minded individuals that share your passion for safety and readiness.
3) Access a wealth of knowledge and resources to assist in protecting you and your community during unexpected situations.
Click HERE to get started.
=====
