

My wife and I have started gardens in the past with a moderate level of success. We have picked out a patch in our back yard, tilled the earth, worked in some potting soil and then after germinating some seeds, transplanted the seedlings and then watered and watched the bed to see what happened.
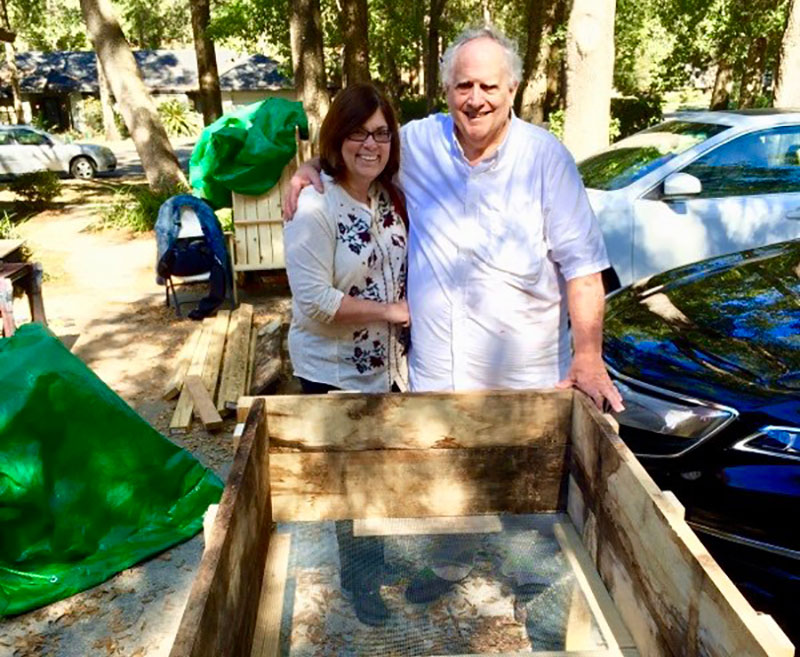
Skip & Jenny with Garden Planter #1
We found that the bugs liked our tomatoes, but didn’t like our squash enough to pollinate the squash flowers. Our food production was minimal. And we hated having to bend over in the hot sun to tend the garden! So when I saw Jon Peters’ YouTube video on constructing a raised bed garden, I was inspired to build a couple of these beds for our future garden efforts.
Benefits of Raised Bed Garden Planters
Before I get into the actual construction, let’s talk briefly about some of the big benefits of raised-bed gardening. Number one, you get to control the soil conditions used in your garden. You are not at the mercy of bad soil, soil with lots of clay in it, or harmful chemicals that might work their way into your garden.
With raised-bed gardens excess water drains quicker, and your soil gets warmer faster…this lets you get an early start on your gardening season each year.
You simply build your structure, bring in soil to your liking, and get growing!
Other great benefits of raised-bed gardening include:
- Easy on the Back – you don’t have to bend over as much with a raised bed.
- Versatility – it’s much easier to build different types of raised beds to blend in with your landscape.
- Less Weeds – you have less weed issues with raised bed gardens.
- Less Pests – gophers, moles and other pests have less access to your garden.
Ok, let’s get on to the build…
Urban Lumbering and Photovoltaics
In order to maximize our solar exposure to the photovoltaic system on our house, we had to cut down some red oak trees and some pine trees. Since I am a woodworker and a wood hoarder, I couldn’t bring myself to the decision of cutting down these trees and having them hauled off to the local wood-burning power plant. So I called Lumber by Lance and Phil the Tree Guy and had them come to my house and turn these trees into beautiful stickered piles of lumber. I watched as 4/4, 6/4 and 8/4 slabs of beautiful heart pine and quarter-sawn oak fell off the portable saw mill.

Part of the Wood Piled Up In the Back Yard
This project was perfectly timed, since one of my wood piles had air-dried for four years. We decided to not plane or joint any of the wood since, for this project, it was going to be used to hold a bunch of dirt!
Help from Family Sustainability Experts
Our two sons from Puerto Rico came home for Thanksgiving and wanted to help build the raised beds. Our older son is the director of an educational non-profit organization based in Puerto Rico, focusing on promoting sustainability and ecological agriculture, Plenitud PR (www.Plenitudpr.org or Plenitud PR on Facebook). Our younger son is an instructor and project manager at the Plenitud farm and teaching center. This was just the type of project they live for!
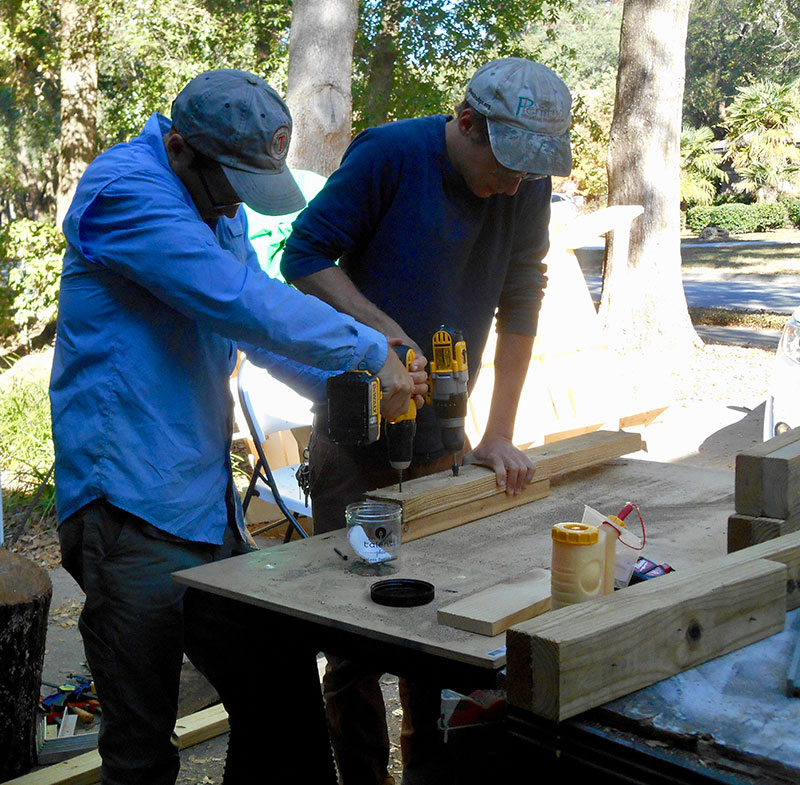
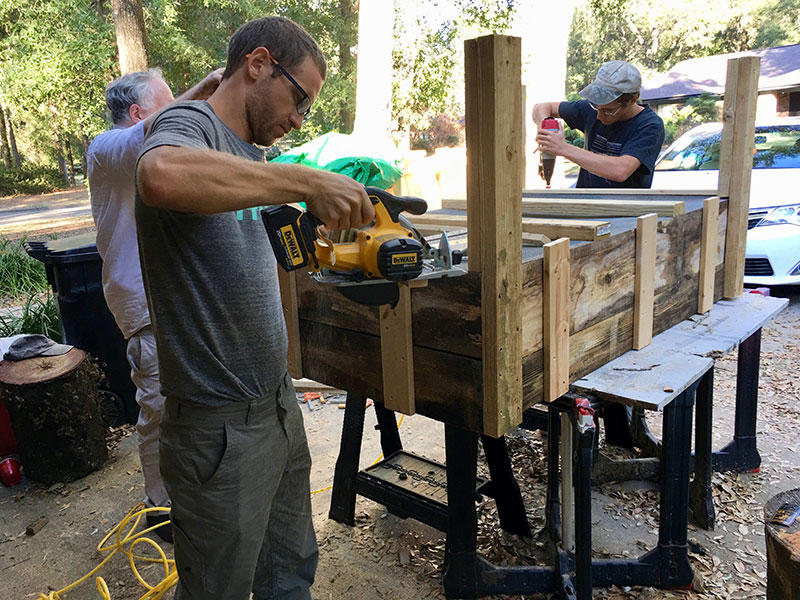
Preliminary Work on the Planter box Components
We used the same dimensions that Jon Peters used, 36 inches by 57 inches. The boys found lengths of lumber from my stash that were approximately 8 and 6 inches wide. These were cut to length, and using battens cut from old bed slats, they were fastened together to form 14 inch high sides for the boxes that would make up the raised beds.
Hardware cloth (purchased at a local hardware store) came in 3 foot widths in a roll 10 feet long, just enough to make two beds. This hardware cloth was stapled to the bottom of the boxes with crown staples. Then 1×2 slats of wood were used to frame the hardware cloth for additional support.
Before adding the 1×2 slats, pressure-treated 2×4’s were used as cross pieces to add additional support to the hardware cloth. Jon Peters had suggested that additional support might be needed. In a kit-build, Jon Peters demonstrated that another way to construct the bottom of the boxes was to use slats spaced with gaps for drainage.
We took a different approach for the construction of the legs. Jon used 32-inch lengths of pressure-treated 4×4’s. He removed half the thickness of the 4×4’s for a distance of about 14 inches from one end of the board. This formed a step for the box to sit on.
My experience with the current method of pressure-treating 4×4’s is that the penetration of the chemicals into the core of the wood is not always as thorough as it could be. We decided to go with two 2×4’s, one 32 inches long and one 18 inches long, glued and screwed together. These legs were then fastened to the boxes with 2 ½ and 3 inch Robinson deck screws.
Attaching Legs to the Planter Boxes
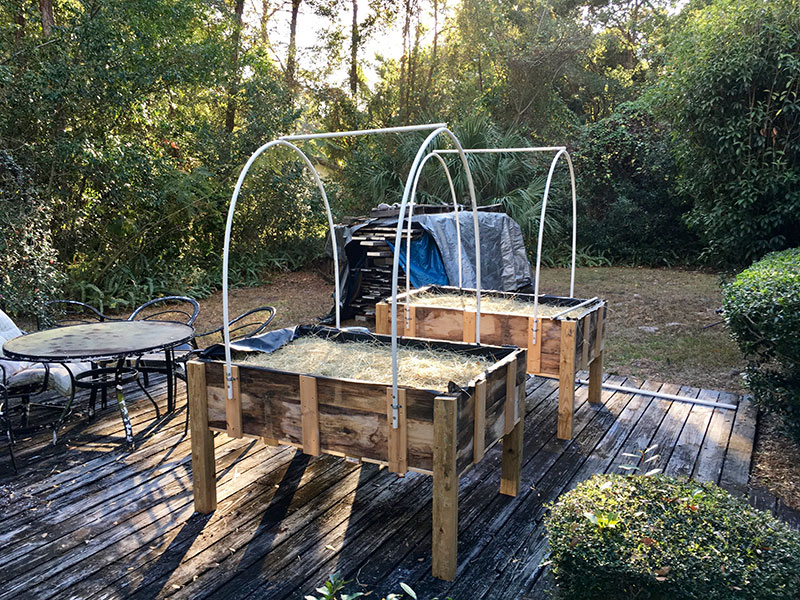
The boxes were moved to the back yard deck. This kept the boxes out of the way of lawn mowers and weed eaters. Once located on the deck, architectural (weed prevention ) cloth was stapled to the inside of the boxes. This was to provide for a layer to retain the soil while letting water drain through.
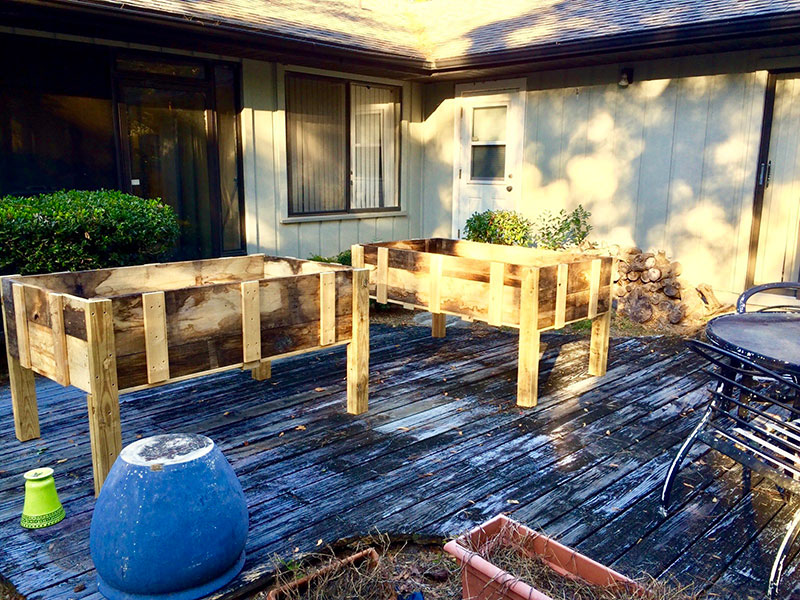
In Place On the Deck
Our Puerto Rico Sustainability Experts then stepped up and set about helping us put together a perfect growing media for the new raised beds. The basic recipe for the soil mix was 40-50% organic matter, 25-30% perlite and 25-30% peat moss (not a sustainable component) or coconut fiber (a sustainable component).
Our specific mix was comprised of Black Cow © (cow manure fertilizer as a source of nutrients), CocoLoco © (worm castings, coconut fiber, perlite and soil), peat moss, potting mix, and additional perlite. This was mixed up on a tarp (see the YouTube video below) and placed in the raised beds.
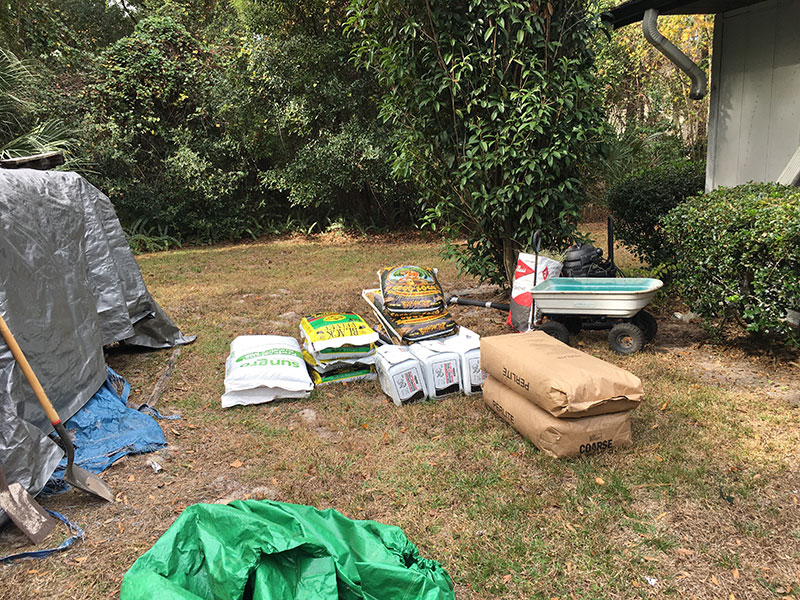
Ready to mix the garden soil
After filling each raised bed with the soil mixture, we added a layer of hay to the top of the soil mixture. This layer of mulch slows down evaporation of water from the bed and protects new seedlings.
Additional Support System for the Raised Beds
The next day we acquired some 10-ft lengths of ½ inch PVC pipe and clamps and constructed a support system for each bed. The support will provide for shade (50% black cloth) during the summer months and for cover during the winter to protect the plants from frost.
Shade cloth is still on order
Now on to the local nursery to pick out some fall/winter seeds and seedlings!