
Many people think it is crazy – very cool, but crazy – to go into the woods, chop down a tree, make a basic longbow, and shoot a deer with it. However, the concept intrigues certain people, as it has done and continues to do for me since I was a kid. Bows are very simple to construct and effective. This article will explain how to make a bow and arrow for bow hunting.
(Photo from Unsplash)
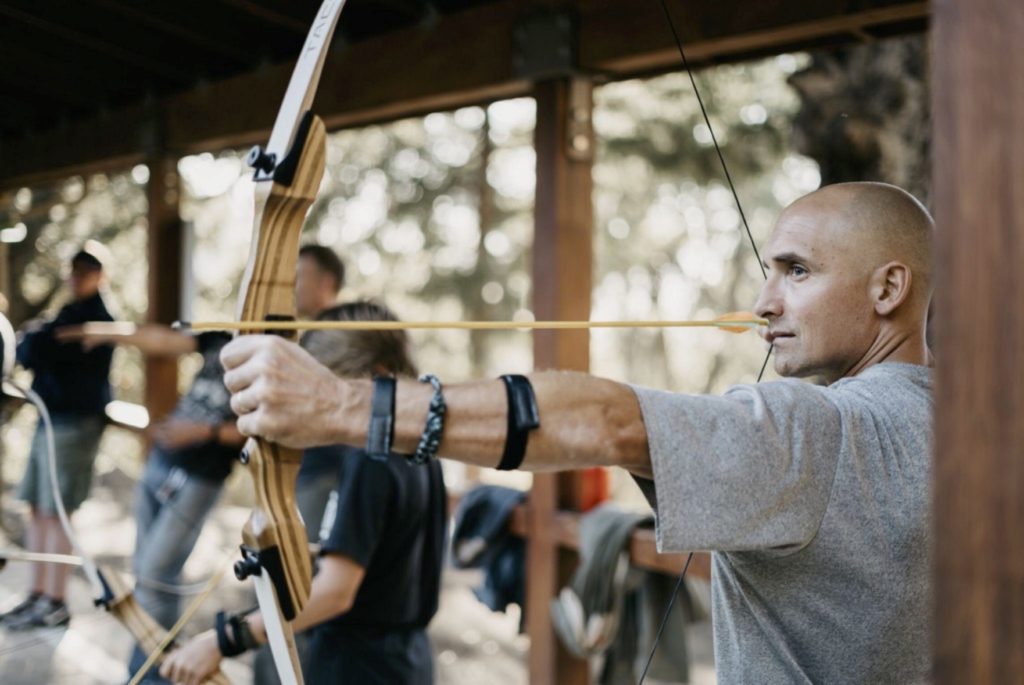
Putting the Bow Together
First. Pick your wood carefully. Selecting the proper timber is the cornerstone of every flourishing bow. Hardwoods like hickory, oak, and maple should be used. Avoid using weaker woods like pine since you would need to use thicker sections, which would increase weight and bulk to prevent breaking.
Second. Split the tree and cut it. Six to seven bow staves are produced by an 8-inch tree. Allow 6 inches of space on each stave’s end so you may cut away any areas of potentially cracked wood. Keep the bark on to prevent the wood from breaking while it dries.
Third. Allow the wood to dry. The average time required for this is three to four weeks, but it might take up to a year. The most flexible wood will distort into a curve known as a reflex.
Fourth. Mark the broadside of your bow after debarking it with a drawknife.
Fifth. Refine the form with a drawknife or band saw. Finish the job with a tactical knife.
Sixth. With a drawknife, trim the side of the bow’s limbs by laying it flat. The grip’s center 5 inches should be 34 inches thick, decreasing to 1/2 inch at the ends.
Seventh. Make string grooves at a 45-degree angle on the outside of both tips, approximately a half-inch from each end. Create a second set of grooves on the bottom limb for the bow stringer, a unique string used to bend the bow during stringing.
Eighth. The front and rear surfaces are smoothed, and the edges and tips are sanded down. Then, floor tillering applies pressure to the top of the bow to bend it slightly while holding one tip against the ground and checking the bow for any fractures or flaws. You’ll have to start again with a fresh piece of wood if the front exhibits anything more than minor cracks.
Ninth. Construct a tillering tree to evaluate the flexibility of your bow. A 2 x 4 should be fixed vertically to the wall. Create a horizontal notch with a Skilsaw starting 5 inches from the top and continuing every inch until you reach 30 inches. The bow should be lightly strung with parachute cord, centered on the top of the tree, and the string should be progressively brought down the notches until it hits the 28-inch mark, representing a typical full draw. Look for any irregularities in how the limbs are bent at each phase. Shave them from the side that bends the least if they don’t bend evenly.
Tenth. To produce a little bend in the bow, cut the parachute rope in half. Draw the bow several times in front of a mirror to determine whether the side is still a little stiffer. Depending on which hand you fire, use a sander to make a slight depression above the handle to the right or left.
Eleventh. Finish the bow with sanding. Since animals have a more challenging time seeing black stains, hunters would choose to utilize them.
Twelfth. Using a fresh length of B-50 bowstring material, make your final bowstring. A longbow that has been correctly strung should have enough bend to separate the bow from the string by around 7 inches.
Putting the Arrow Together

(Photo from Unsplash)
First, choose sticks for your arrows. You can check this list of quality arrows in the market * for samples. Use the straightest sticks you can find to make arrows. The wood needs to be dead and dry. The length of each arrow should be approximately half that of the bow or as long as the bow can pull back. Having arrows that can’t be drawn back as far as the bow is capable of is ineffective.
Second. Construct the arrows. The wood surrounding the arrow’s perimeter has to be smoothed out. By carefully warming the shaft over hot coals—without scorching or burning the wood—and holding the arrow straight as the wood cools, you may straighten an arrow. Each arrow should have a tiny slot carved into the rear tip to accommodate the bowstring. It is known as a nock.
Third. Make the arrow’s tip razor-sharp. The simplest arrowhead is just a tip cut out from the front of the arrow shaft. Such a tip may be sculpted with a knife and then softly heated in coals to make it fire hard (again, be careful not to burn or scorch the wood).
Fourth. If you can, create an arrowhead. (This is optional.) You may make this using bone, glass, metal, stone, or other materials. Chip your fabric into a point with care using a tiny rock or hammer, then fasten it to the end of the arrow. You may do this by notching the wood, placing the arrowhead within the notch, and then attaching the arrowhead to the wood with a thread or cord.
Fifth. Produce fletchings (optional). Although fletchings make the arrow fly farther, they are not essential for a weapon that may be used in the field. To create the fletchings, gather some feathers and attach them to the rear ends of the arrows if you can. A thin thread (perhaps taken from your clothing) can be used to firmly wrap the fletching around the arrow after splitting the rear of it and inserting the feather. Almost anything may be used as your fletching if you choose this technique.
* Survival Dispatch has no formal relationship with BowZones.com, wasn’t paid to publish this article, and does not receive affiliate commissions from them.