
Survival Dispatch News has moved!
Subscribe to our RUMBLE channel
When you’re facing a life or death scenario, you must stop and prioritize. The four pillars of survival are food, water, fire, and shelter. This is because you can only survive three weeks without food, three days without water, and three hours without protection from exposure. The fastest way to get warm, and stay that way, in a survival situation is to build a fire. In addition to providing warmth, fire can help you purify water, cook food, ward off predators, protect against insects, and light your camp. It can be argued that building a fire should be your single biggest priority when trying to survive.
However, building a fire that will stay lit is not as easy as you’d think. Even with tools like matches, lighters, and newspaper, you can potentially light a fire only for it to go out seconds later. Even if you’re a skilled survivalist, there are times that the elements can prevent your fire-starting efforts. During my first winter survival challenge, I was facing sub-zero temperatures, 20 mph winds, and steady snow. I spent most of the day building my shelter instead of working on my fire.
About an hour before dark I started trying to light my tinder only to find that it was too damp to light. I searched everywhere for better tinder but it was too late. With no fire, I was able to avoid the first signs of hypothermia until around 1am. At that time, I had to tap out and head home. One week later I attempted the challenge again in similar conditions but was successful because of my ability to keep a fire going. In this article I will cover the basics of firestarting along with the best fire designs to keep your fire going.
Supplies
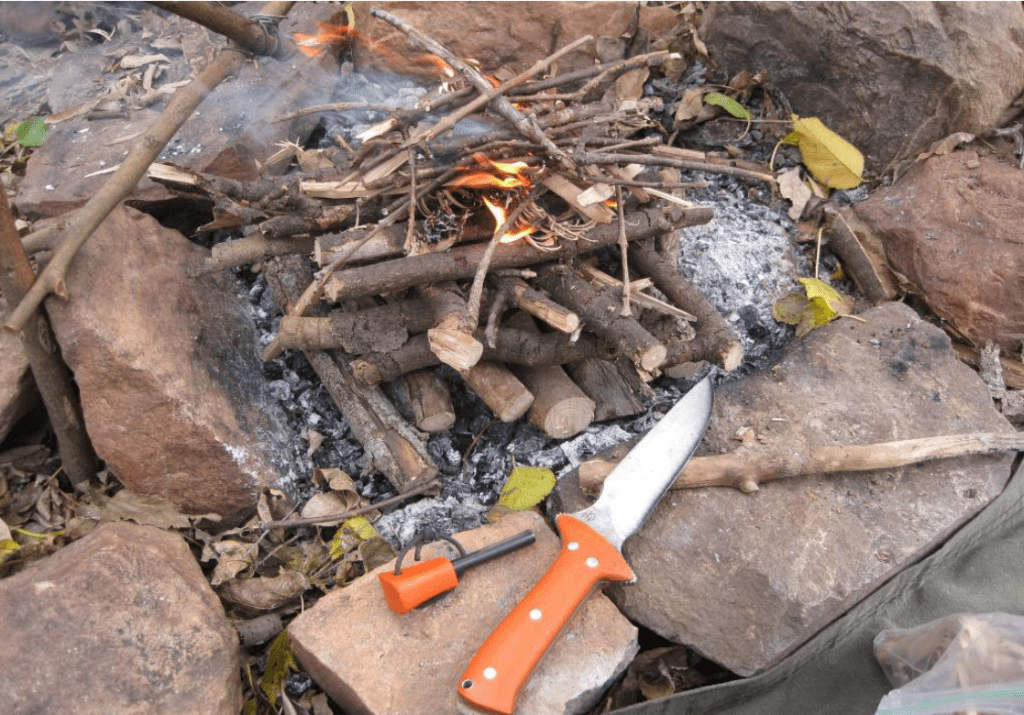
Before you attempt to build a fire, you need to have the right supplies. The first and most important is a tool by which to start the fire. This can include lighters or matches for more modern fire starting tools. Be aware these do have their downsides.
I like to carry a ferro rod with me which is waterproof, windproof, and requires no fuel. You can use a lens on a sunny day to start fire, or use a piston starter. If you have time and patience, use pieces of wood for friction fire. However, I will warn that it takes a great deal of practice for this method to work.
Next, you’ll need tinder. You can carry your own in the form of Wetfire Cubes, dryer lint, or cotton balls coated in Vaseline. For natural tinder you can use dry grasses, leaves, or pine needles. The best natural tinder will be substances that naturally stay dry or are waterproof. This include bird’s nests, cattail fluff, birch bark, and pine resin.
These substances can be lit even in a pouring rain to get your fire started. Just shape your tinder into the shape of a nest and put the ember or flame inside. Ball it up gently and blow on it until you have large flames. You should have enough tinder to just barely fit both hands around it.
Kindling and fuel wood are the elements that you will use to construct the fire. Kindling consists of dry sticks ranging in size from a pencil thickness to the size of your thumb. Gather these from dead branches up off of the ground. Anything on the ground will likely have absorbed moisture. It should make a ‘snap’ sound when you bend it if it’s dry.
Fuel wood consists of larger logs. If you have the right tools, cut large pieces and then split them to expose the inner wood. Otherwise, you can use smaller pieces and just strip off any damp bark. You should have enough kindling to fit both arms around your bundle and the stack of fuel wood should be knee high. The general rule is to take however much fuel wood you think is needed for the night and double it.
Teepee Fire Design
The teepee fire design is the one that most people use when building a fire. It was the first design that I was taught in Boy Scouts and still use it frequently to this day. If I need a fire for a few minutes to a few hours, it’s about as effective as it gets. I also use this design in combination with others. Start with your smallest kindling and lean three sticks together to create a teepee shape. Then use kindling of similar size to build on your teepee and make it denser.
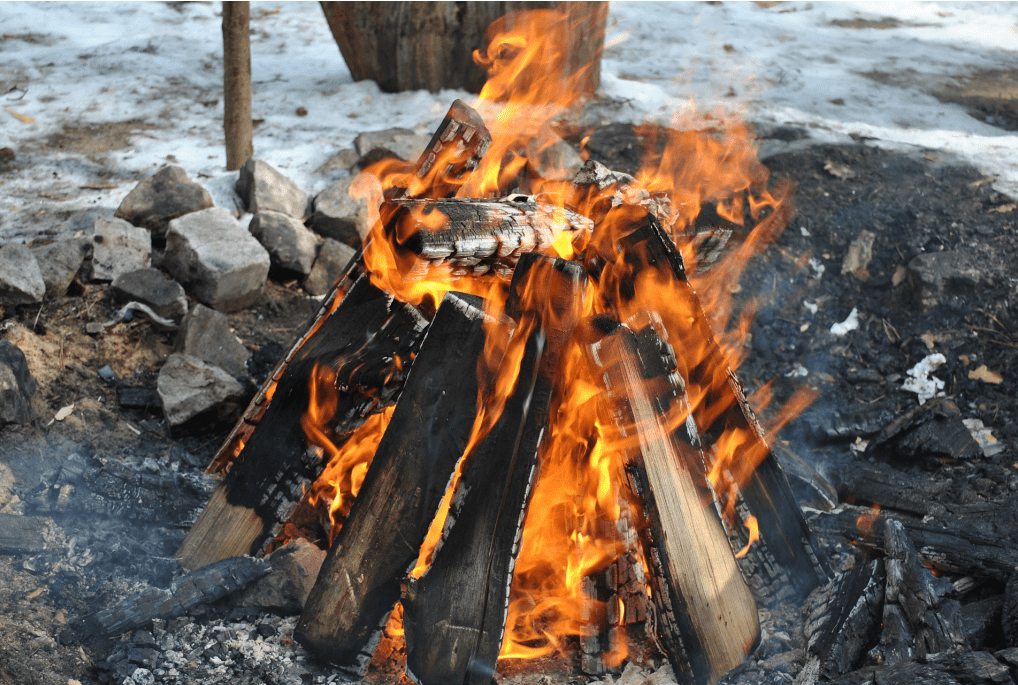 Leave a small opening on one side so you can place your tinder bundle under the structure. Then move to thicker kindling and start adding it around your existing teepee structure. Continue moving up to the thickest kindling until you have a wide, solid structure. For the last step I like to take just three pieces of fuel wood and lean them against each other above your teepee so that they will catch fire as well. Then light your tinder bundle and place it inside the teepee. That should be all you need to do to get the fire going. Then just add pieces of fuel wood to the teepee as the existing pieces catch fire.
Log Cabin Fire Design
This design is meant to be more stable than the teepee design. You will find that at times a teepee will fall over leaving a mess of flaming sticks. The log cabin rarely falls over. First, you need to dig a small trench just large enough to fit your hand. Then lay two pieces of fuel wood parallel to the trench with one on either side. Next, pick two pieces of fuel wood slightly smaller than the first. Lay them perpendicular to the first two pieces to create a square.
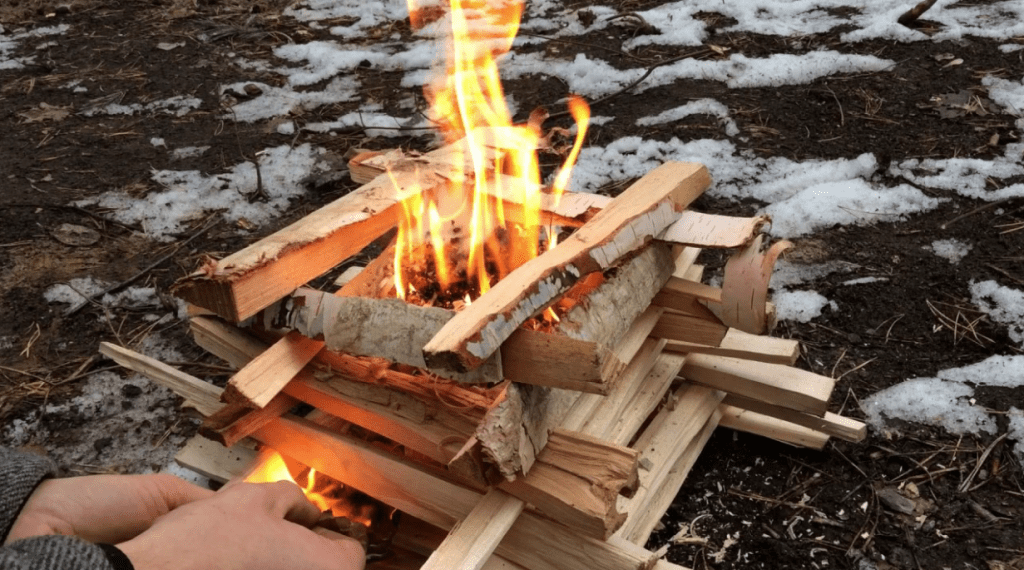 Place some small sticks across your square and place tinder on top of the rack you just made. Layer by layer build up the outside of your cabin continuing to reduce the thickness of the wood and moving towards the center. Place a bundle of small kindling inside and give it a roof of medium kindling. Light your fire starter and use it to ignite the tinder. Once it’s going, add fuel logs across the top alternating direction each time.
Upside Down Fire Design
I wanted a fire design that would burn all night without any logs being when researching for a winter survival challenge,. This was the design I found. The principle is to put lots of large logs on the bottom and small wood on top so it burns slowly. You also fill in all the gaps with dirt or sand to ensure the oxygen is limited as much as possible. It’s considered the opposite of a teepee fire. Start with a layer of sand or loose dirt and then a layer of large logs at least six inches thick.
 They need to be fairly round and straight so it’s easy to fill in the gaps. Next, put another layer of sand or dirt and then a layer of logs laid perpendicular to the first. Continue with four or five layers of large logs at least seven or eight across and then gradually use smaller logs. Finally, build a small teepee on top and light it to start the fire. It will slowly burn from the top down and will last anywhere from several hours to an entire day depending on the size of the structure, the size of the logs, and how well you control the oxygen.
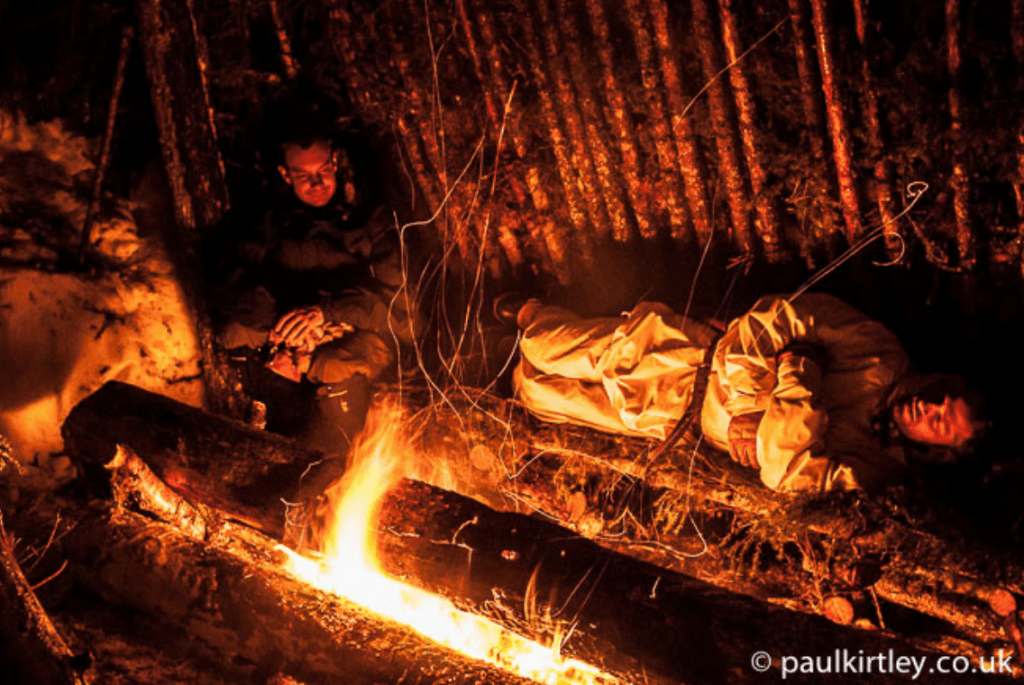
Two Log Fire Design
This design is intended for heat only. You’ll not get much light, and the flames aren’t very large so cooking is difficult. First, lay one large log parallel to your bed about two to three feet away. It needs to be body length, round, straight, and at least six inches thick. Next, lay down a small layer of tinder and kindling along the length of the log. Find another log identical to the first and lay it on top.
 Finally, either use metal spikes to drive through the logs or wooden stakes on both sides of the logs to hold them in place. Light the tinder in a few places along the two longs and they will burn slowly from the inside out. This fire provides enough warmth to help you survive the night and should easily burn overnight.
Self-Feeding Design
This is a more complex design, but if you want to be sure your fire will keep going all night it doesn’t get any better. For this fire you’ll need several large, round, straight logs of equal length. I suggest logs at least six inches thick and three feet long. You will need several longer, thinner logs to build ramps as well. Start by driving four smaller logs into the ground so they stick straight out three to four feet from the ground. Next, attach four additional smaller logs to the first logs at a diagonal with each side coming to a ‘V’. You may add two additional logs to the tops of your ramps for stability.
 Your finished ramps should be facing each other with each being at an opposing 45 degree angle. Next, set two logs in the bottom of the ramps so they’re even. Add logs running up each ramp to the top. Then build two small teepees on top of the bottom two logs or shove tinder in between them and light from the bottom. As the first two logs burn through, the next two logs will roll into place and so on.
Body Length Design
This is a relatively simple design, but is great for keeping warm on a cold night. Start with several large, long logs stretched alongside your bed. They should be at least the length of your body, but should be far enough out to allow you to get out of the shelter if needed. Fill any gaps in between the logs with kindling and then build either two or three teepees along the tops of the logs. Light each one of the teepees simultaneously so that the logs below burn at an even pace. Before you know it, you will have a fire warming your entire body.
 Final Thoughts
Any fire in a survival scenario is a good idea. However, knowing the proper design for your particular scenario is a huge advantage. I cannot tell you how many times I stayed up all night feeding logs to the fire because it was too cold to sleep otherwise. To be successful with survival, you need both sleep and warmth. Some of these designs can help you achieve both.
Of course, with any survival skill you should get a great deal of practice. Some of these fire designs are fairly complicated and you’ll likely not get them right on your first try. On the next camping trip or even in your backyard, get some wood together to test out these designs. Collecting all of the supplies needed can be a great deal of work but it’s definitely worth the time and effort. The odds of survival will increase if you know how all of these designs work before your life ever actually depends upon it.
This article was originally written by Adrian Willis and published in Survival Dispatch Insider magazine Volume 4 Issue 7.
=====
Become a Survival Dispatch Insider …
We bring together survival enthusiasts and preppers to share skills and knowledge, so you can enhance your preparedness for emergencies and ensure the safety of you and your community.
The Results You’ll Get …
Our community, courses, and memberships are pretty special. We focus on the ways it will make a huge difference in your life.
Here are a few of the things you’ll be able to do as a member of Survival Dispatch Insider …
1) Improve your emergency preparedness by learning survival skills and strategies from experienced preppers.
2) Build lasting connections with like-minded individuals that share your passion for safety and readiness.
3) Access a wealth of knowledge and resources to assist in protecting you and your community during unexpected situations.
Click HERE to get started.
=====