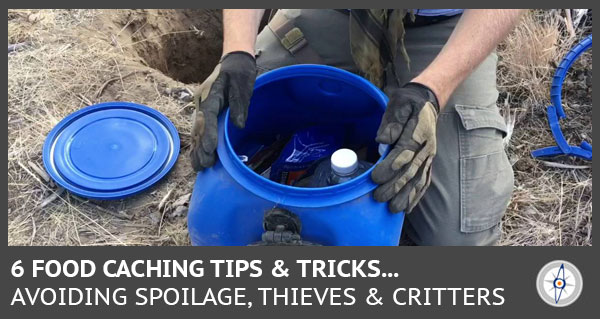
Hikers and campers have been caching food on extended trips for decades, and pioneers and other explorers have engaged in the practice for even longer. Storing some supplemental food for future use is not only a great way to lighten your load, it represents an emergency option that may save your life, should you exhaust your primary food source.
But caching food is not always easy, and you’ll need to avoid a number of potential problems, including wildlife, thieves and spoilage. Try to keep the following tips in mind, when setting up an emergency food cache that is intended to help you survive a zombie invasion, asteroid strike or economic collapse.
1. Only cache non-perishable items.
This should be obvious, but we’re leaving no room for doubt. You’ll only want to use foods that are prepared and packaged in such a way that they’ll last years in your cache container. This means no raw or cooked meats nor fresh fruits or vegetables. Water fosters bacterial growth, so you’ll only want to use dehydrated or dried foods.
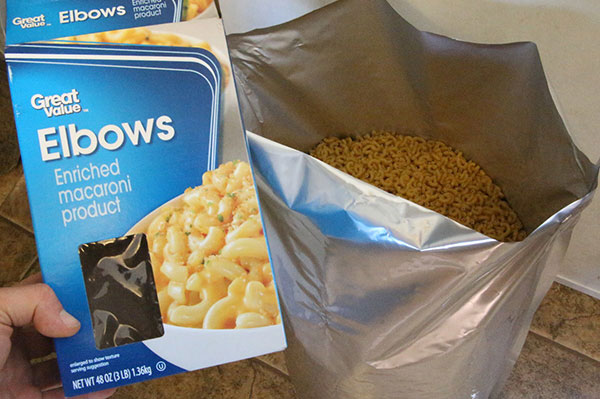
Uncooked pastas and grains, jerky, fruit leathers and canned produce are some of the best items to include in your cache, as are dehydrated soup packets, powdered milk, unopened oil bottles and commercially prepared dehydrated foods. Pickled items may work as well, and they often serve as a good source of salt too.
Be sure that you include proteins, carbohydrates and fats (oils) in your cache to keep your body properly fueled.
2. Be absolutely sure you can find the cache when you need it.
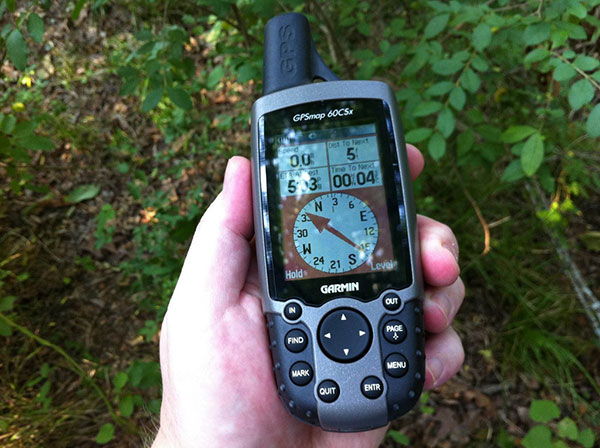
Your food cache will be rendered completely useless if you are unable to find it when you need it, so be sure that you mark it in several different ways. For example, you may bury the cache at the bottom of a distinctive tree, but also mark its location on your GPS unit. Alternatively, you may want to draw a map with specific instructions indicating the cache’s location, while hanging a small piece of flagging tape high in the tree canopy over the cache.
You’ll obviously have to balance your need to find the cache, with the need to keep it hidden from those who may steal it. You’ll just have to assess the location and make the best choice possible with regard to hiding your cache. Don’t forget that the landscape changes over the course of the year in many locations – what may be well-hidden in July will become quite exposed in January when the trees have shed their leaves.
3. Keep the local wildlife in mind when caching food.
Other people are not the only danger to your food – an array of critters will surely catch the scent of your cache and grow curious about its contents. Simply burying it deeply will help protect it from small thieves, such as chipmunks, rats and mice, but bears, coyotes and other animals may dig down as far as necessary to access the tasty treasures inside.

Campers usually keep their food caches safe from wildlife by suspending it from the ground, but this is not a viable solution for long-term food storage. A cache designed to help you survive an apocalypse will weigh too much to reasonably suspend and hanging it in the open will make it obvious to thieves.
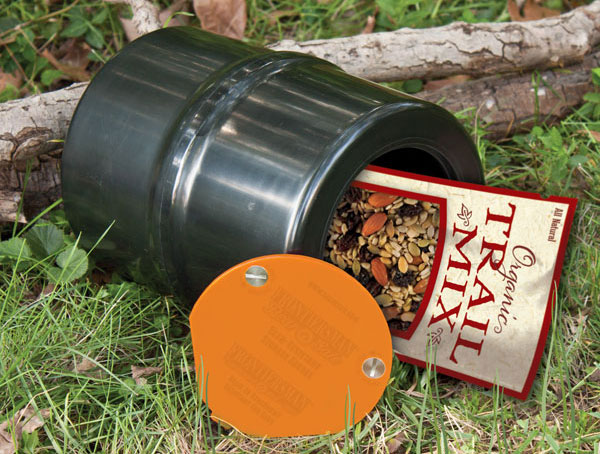
There are two basic solutions to this problem: Surround the container in a scent-proof bag or use a bear-proof container. Bear-proof containers are available commercially, as are sealed bags which can resist the claws of bears and other wild critters.
4. Add an unopened bottle of liquor to the cache.
Liquor isn’t exactly a food, but it can be invaluable in a survival situation. Not only can a quick swig help calm your frazzled nerves or temper mild to moderate pain, liquor can also serve as a disinfectant or cleaning solution. You can even use it to help get a fire started or to make a torch. Just be sure that you don’t drink excessive amounts of liquor, as it will dehydrate you and compromise your decision making.
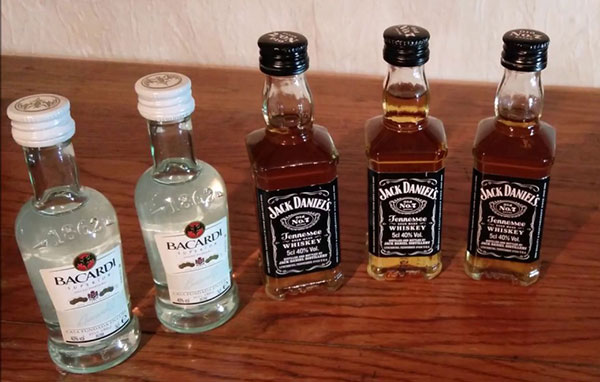
But liquor may even provide one more type of value: You may be able to barter with it. Miniature bottles are perfect for this use. Liquor has widespread appeal (which will only increase following a civilization-threatening event), and you may be able to acquire any number of more crucial resources, in exchange for a bit of booze.
Be sure to use only glass bottles when storing liquor over the long term. Not only will the glass last longer without leaching into the liquid, glass bottles provide an additional resource that can serve a number of roles.
5. Throw some basic tools and utility items in the cache alongside the food.
Space is at a premium inside your cache container, so you’ll usually want to maximize every possible cubic inch with food. However, it is often wise to allocate a very small amount of space for an extra pocket knife or multi-tool, 100 feet of rope, a roll of duct tape, a flashlight or two and some batteries.
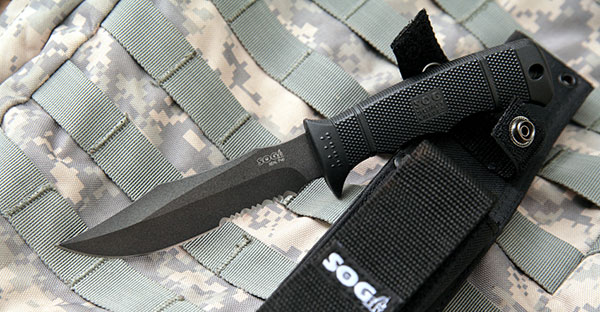
These types of things don’t take up very much space, and they may be all the difference between survival and disaster when you are stranded in the wilderness.
You may also want to include some way to purify water too. A small water filter is ideal, but you could store iodine tablets or other purifying chemicals in your cache instead.
6. Periodically check long-term storage caches and replace compromised items.
It’s not always practical to check on your food cache during camping trips – it doesn’t make sense to backtrack in this fashion. You’ll simply need to store your food as best you can and hope that it lasts until you return.
However, long-term food caching is an entirely different matter. When you are storing food for extended periods of time, you’ll want to check on it once or twice per year. Because you should only be storing non-perishable items and using a waterproof canister, everything should be fine. But it is better to find out you made a mistake now than when you need the food to survive.
Be careful not to visit the cache too often if you’ve placed it in a hidden location. Unnecessary trips to the cache will increase the likelihood that you’ll leave footprints or other clues, which may draw the attention of looters.
