


Do you want to save money on utilities while maintaining your prepper’s garden? You can turn rain into gain with a simple rainwater collection system.

Doing so might be the perfect opportunity to cut your DIY teeth if you’re better at starting fires with damp wood than swinging hammers. Most systems are relatively simple to design and install, even for beginners.
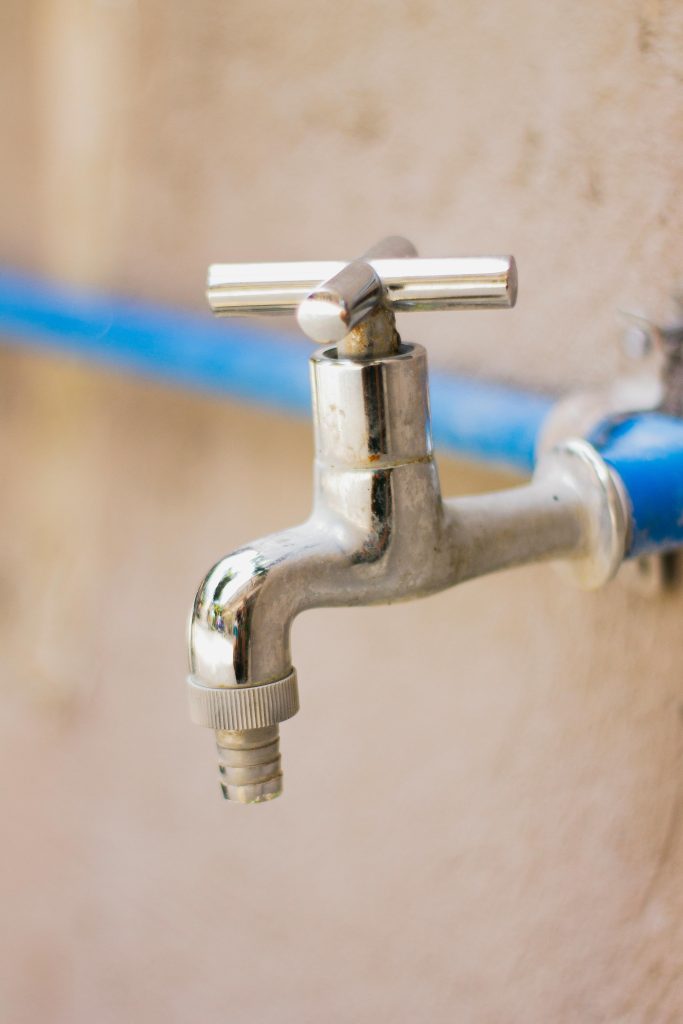
Your reward is fresh water for your irrigation, letting you turn off the tap. Furthermore, a rainwater collection system is an invaluable resource in a SHTF scenario, especially if you don’t have many rivers and streams near you.
Here’s your crash course on how to build one.
Step One: Plan Your System
The first step in any DIY project is planning, so check in with your local jurisdiction. Believe it or not, some locations ban rainwater harvesting, so it’s wise to check if you need a permit — or if your project could land you in legal trouble — well in advance.
You’ll need to do a little math to determine the size of your system. A general rule is every inch of rain that falls on a 1,000-square-foot catchment area provides approximately 600 gallons of water. A 10-inch rainfall can produce 6,000 gallons. Do you have sufficient storage to manage that capacity?
Don’t necessarily think smaller if you live in an arid region like the desert southwest. While rainfall is scant, sudden storms can bring a deluge — and it’s even more vital to ensure you have the means to take advantage of it.
Materials List
Here’s a list of what you’ll need:
– Multiple 55-gallon closed-top plastic drums
– 2” PVC flex elbow
– Can of PVC cleaner
– Can of PVC cement
– Threaded male plumbing connectors
– PVC elbows
– PVC tees
– PVC pipe
– PVC adapters
– Brass hose bib
– Clear tube of silicon
– Plumber’s tape
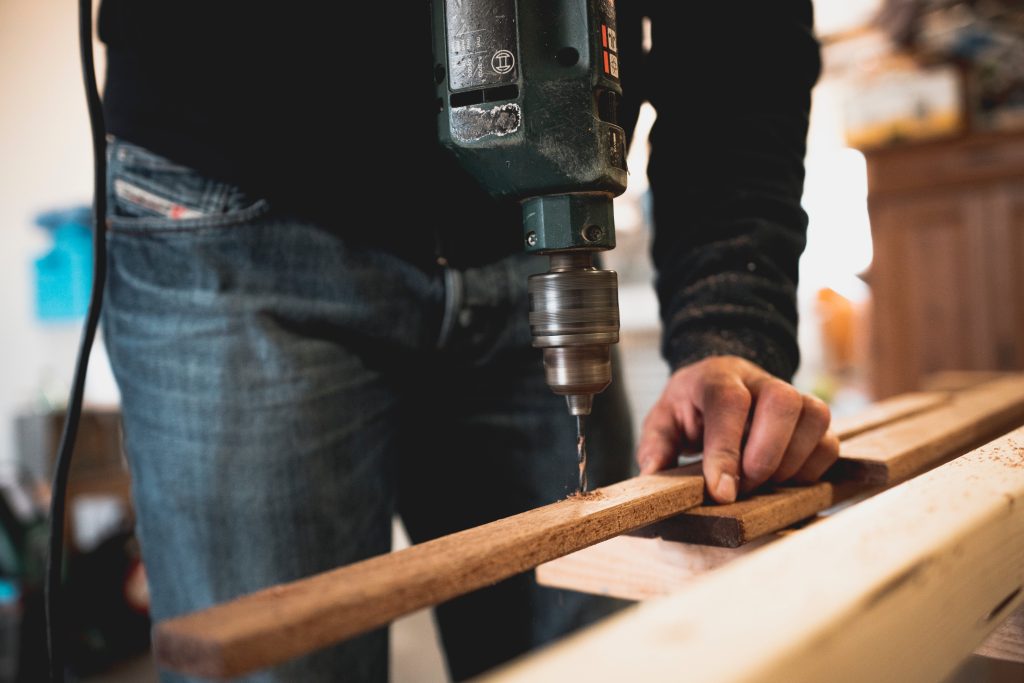
The exact number of barrels and connectors depends on your system’s design. Remember the carpenter’s rule — double-check all measurements. For example, you must measure how much flex pipe you’ll need to run from your gutter to the elbow leading to the barrel setup.
Additionally, you’ll need a barrel stand sturdy enough to hold substantial weight, as water rings in at over eight pounds per gallon. Keep the difference between finished and roughsawn lumber in mind when selecting wood — a finished 2” by 4” is only 1.5” by 3.5” in reality.

Step Two: Prep Your Storage Containers
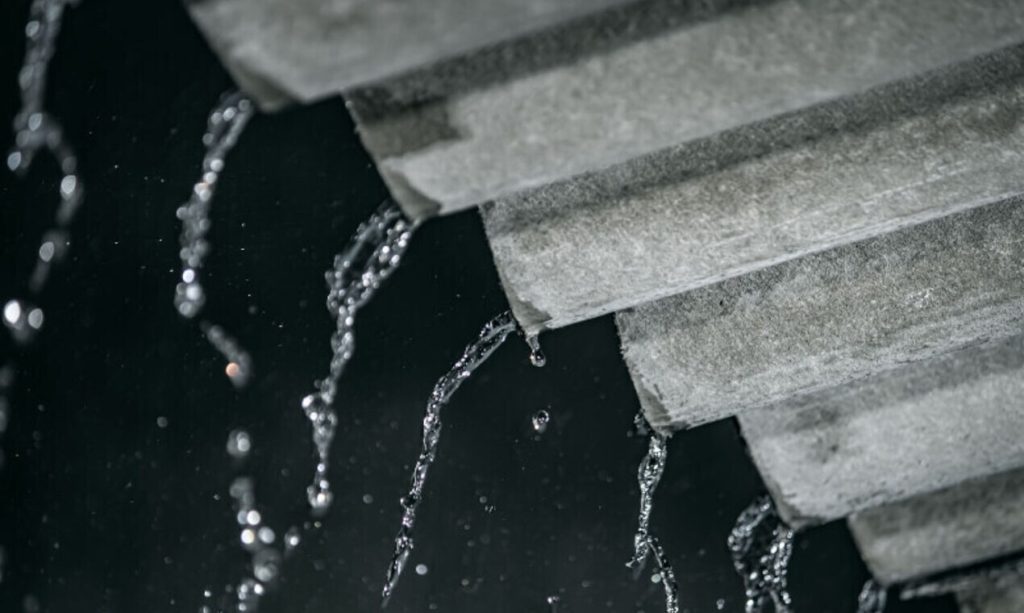
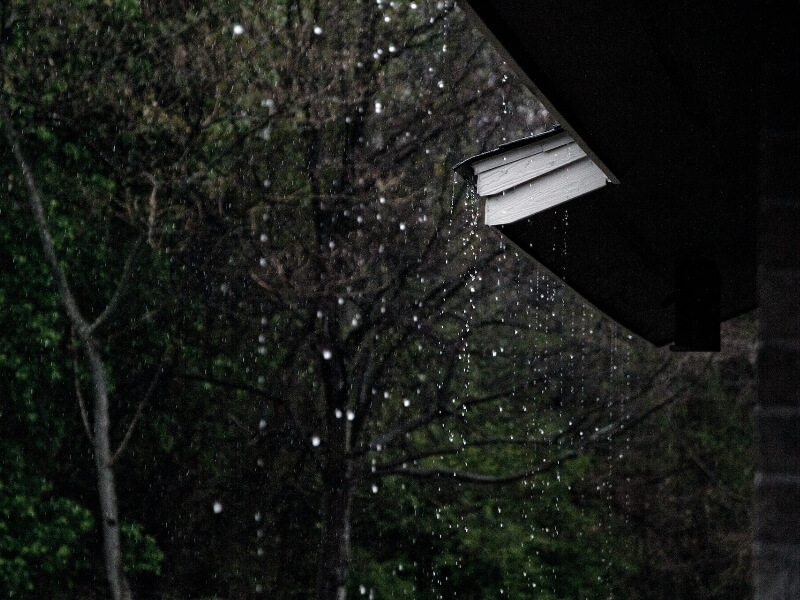
Next, rinse and dry your barrels before using them. Trace an opening for the downspout flex-elbow connector near the bottom of one barrel and an overflow hole on the top left side, allowing rain to exit if full. You can cut these out with a jigsaw, or use a sturdy camp knife with a full-tang blade and sufficient guard to protect your hand against slippage.
Step Three: Attach the Pipework
Next, you’ll attach the pipework that assigns water flow to each barrel. For example, a three-barrel design will use PVC and elbows to create a “W” shape to distribute three streams — more barrels will alter your design.
Lay out your pieces like a puzzle to create a rough skeleton of your design. Secure the plumbing tape to the threads of the plumbing connectors and screw them into the threaded barrel openings. Then, prep all the remaining pieces with PVC cleaner and assemble them with cement.
Step Four: Build the Necessary Supports

Coordinate constructing your stand by attaching your pipework. Remember — it must be sturdy enough to hold the weight of water. Include sufficient brackets and supports to prevent collapse. Additionally, you must leave adequate space to thread the connections through the slats on your stand. Ensure you are able to access the spigot easily once you place the barrels on top.
You can also purchase a barrel stand, taking mathematics out of the equation. However, the advantage of the DIY method is you can make your stand the right size to fit your system. Additionally, you can adjust the legs if you are slightly off on your pipe measurements, ensuring everything stays tight.
Step Five: Secure and Test Your New System
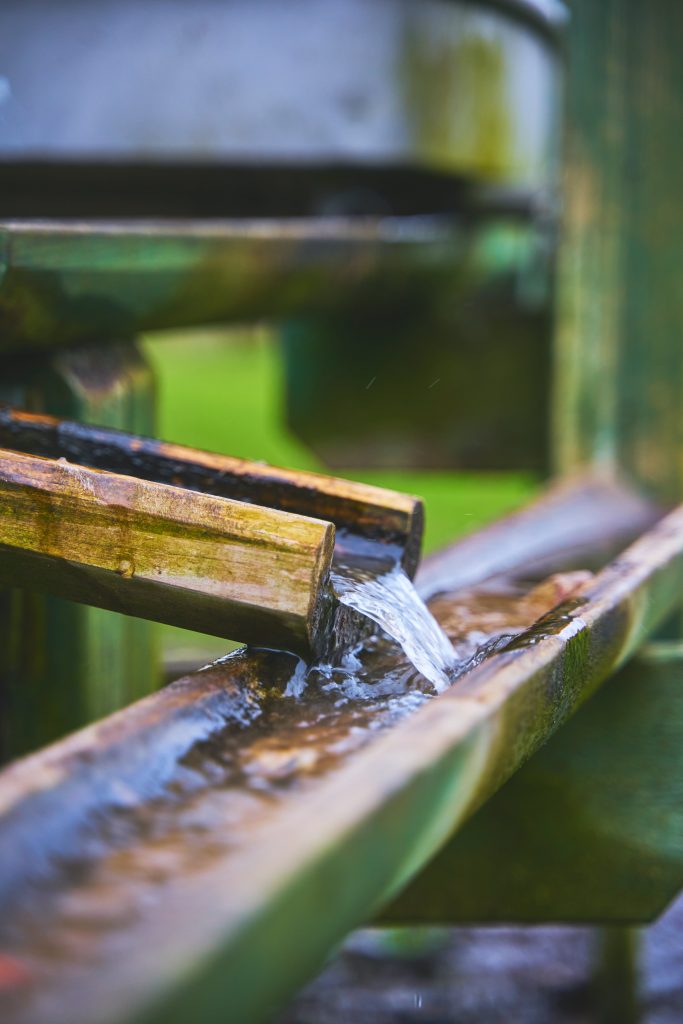
Your next step is to secure your overflow and gutter pipes. Create the overflow valve by connecting two elbows with a length of PVC pipe and angling the spout away from your home.

All that remains is to test your system. You can wait till it rains or pour water into the gutter to check for leaks. The latter method might work more efficiently, as rain will wet the outside of your unit, anyway. Once you know everything works, you can conceal your system with a tree or other foliage on either end, keeping the spigot free for access.
Can you connect your landscaping system to your rainwater collection device? You can, although you’ll probably need an electric pump to ensure sufficient flow. Such a project is for more advanced DIYers, but you might feel inspired to give it a try after mastering your barrels.
Please do not drink unfiltered rainwater. Run it through a filtration system first, as it can contain chemicals from your roof. For this reason, it’s also better to wet the soil when watering instead of applying it directly to plants.
Building a Rainwater Collection System Is Easy
Why pay your utility company more than you need? Even if you have a well, there’s no need to waste your drinking water on landscaping when nature provides. A rainwater collection system reduces your reliance on the grid, ensures an emergency stash when paired with adequate filtration, and preserves your prepper’s garden from drought.
=====
Become a Survival Dispatch Insider …
We bring together survival enthusiasts and preppers to share skills and knowledge, so you can enhance your preparedness for emergencies and ensure the safety of you and your community.
The Results You’ll Get …
Our community, courses, and memberships are pretty special. We’re focused on the ways it will make a huge difference in your life.
Here are a few of the things you’ll be able to do as a member of Survival Dispatch Insider …
1) Improve your emergency preparedness by learning survival skills and strategies from experienced preppers.
2) Build lasting connections with like-minded individuals that share your passion for safety and readiness.
3) Access a wealth of knowledge and resources to assist in protecting you and your community during unexpected situations.
Click HERE to get started.
=====