


When our ancestors transitioned from the spear to the bow, it must have been an amazing moment. I imagine it was like switching from a clunky old blunderbuss musket to some kind of streamlined rifle. The weapon was lighter, faster and shot better than anything before it. And you could keep your distance from dangerous quarry, staying further away from harm while still dealing out death.
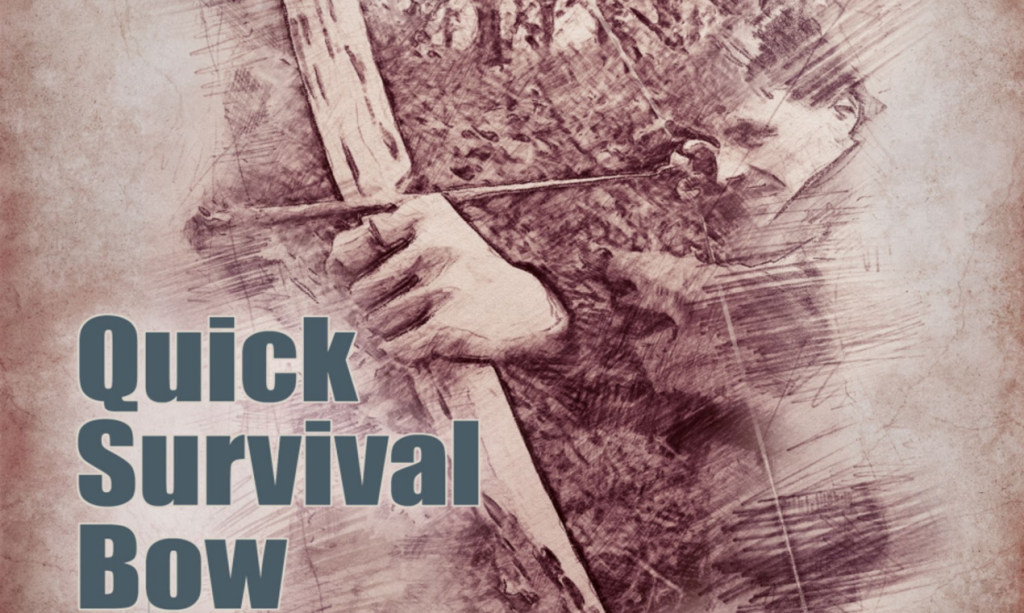
Current thinking is that archery dates back 60-70 thousand years, and it’s been part of the natural technological progression on every continent except Australia and Antarctica (as far as we know today). Certainly, making bows and shooting them is a primordial skill set – but these weapons are still very relevant today. Here are the steps to creating a “quickie” survival bow from a stick.
Choose the Right Stick
If you plan to build a bow and start shooting it right away (for practice or during a real emergency), your choice of tree branch or sapling needs to be right. The wood needs to be dead and dry, since live wood is full of moisture and sluggish when springing back to a former shape. And the stick can’t be rotten or the wrong species. You’re very likely to break decomposed wood or wood from a brittle species of tree.
Popular and productive bow wood species can include hickory, Osage orange, yew, ash, sycamore and black locust, but many other hardwoods will also work. Choose a relatively straight or slightly curved section of sapling tree or select a larger tree branch that’s fairly straight.
You’ll want a piece of wood that doesn’t show any signs of insect damage, knots, decay or major twists in the wood grain. A lack of side branches is also helpful, though these can be cut off. Choose a stick that is roughly 6 or 7 feet long and about 2 inches thick.
Once earmarked for a bow, this chunk of wood is commonly called a bow stave. For practice in bow making, there’s no problem with cutting live wood for bow staves and drying them indoors for a few months. This can provide you with an ample supply of bow staves for practice and experimentation.
Make Your Own Bow
Mark It Out
Every stick has the natural tendency to bend in a particular direction. Rather than fighting this predisposition, work with it. Determine which way the stick naturally bends, and it will show you which side should be the belly and which side should be the back.

Do this by standing the bow stave out in front of you with one end on the ground. Hold the top of the stave loosely in one hand and push on the middle of the stave with your other hand. The bow stave usually swivels and demonstrates which way it naturally wants to bend.
From then on, consider the outside of the bend to be the “back” of the bow, and treat the inside of the bend as the “belly” of the bow. In this rough “survival bow” process, you’ll need to leave the back of the bow untouched. Don’t carve off the bark. Don’t cut any lines into it.
Next, you’ll use a pencil or chunk of charcoal to mark a “grip” (also called a handhold) in the center of the bow stave. Determine the center of the stave length and make a mark 3 inches away from the center in both directions. Don’t do any carving, chopping or cutting inside the grip area. This needs to be left untouched.
When it comes to balancing the bow, I will typically hold the bow in the same position that the tree grew – thicker end down. That will make the area above the handhold the “upper limb” and the area below the “lower limb.” To keep track of these bow parts, I’ll use a soft pencil, marker or charcoal chunk to lightly mark out the handhold, belly and back as a reference for my work.
With the bow marked out, start studying the way your bow bends and the difference between each limb. The thicker lower limb will naturally be more sluggish and bend less than the more slender upper limb.
Carve
Start removing wood from this thicker limb – and ONLY carve on the belly side (again, this is the side that faces the archer, not the target). You can use a fixed blade knife and a baton to “tap” off wood shavings. You could use a specialized tool like a drawknife to shave it down, or something more primitive like a stone scraper.
Carve down the stiffer and thicker parts of the belly, leaving the material in any areas that are bending too much. Your goal in this early “stock removal” stage is to equalize the way that the limbs bend.
Remove material slowly and frequently reassess the limbs for equal bend. You’ll be ready to move on to the next stage when each limb bends evenly and equally.
Test the Bending
To really check the bending of the limbs, you’ll want to put a temporary string on the bow. To help this (and your future placement of a permanent bow string), saw a pair of small notches at each end of the bow. Be careful that you don’t cut into the back of the bow, only cut side notches – just deep enough and barely wide enough for the string. I often use a piece of 550 cord for this temporary bow string but use whatever you have.
Place the bow over a tree branch at eye level, so that the grip is resting on the branch. Pull the string downward toward the ground and carefully watch the movement of both limbs. Mark areas that aren’t bending enough, and carve them away. This is called tillering, and it’s a precise form of stock removal on a bow.
Carve away or shave material until the bow seems “done” to you. You’ll want each limb to bend exactly the same (like mirror images of each other).
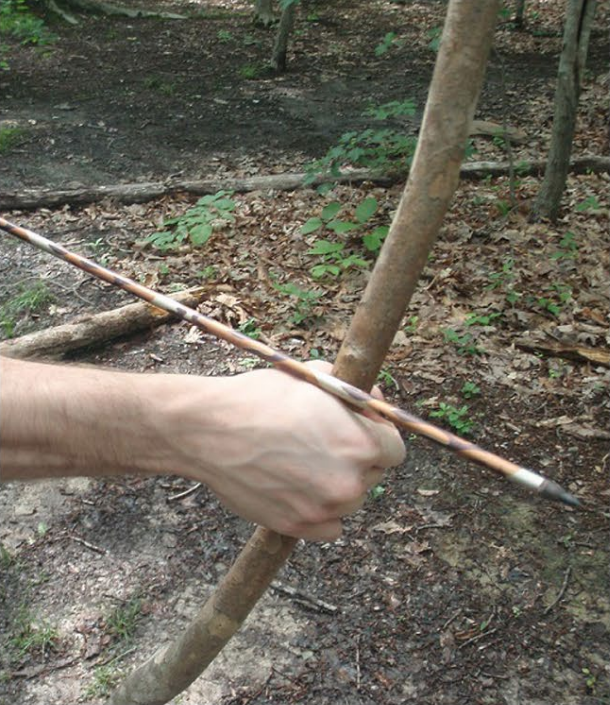
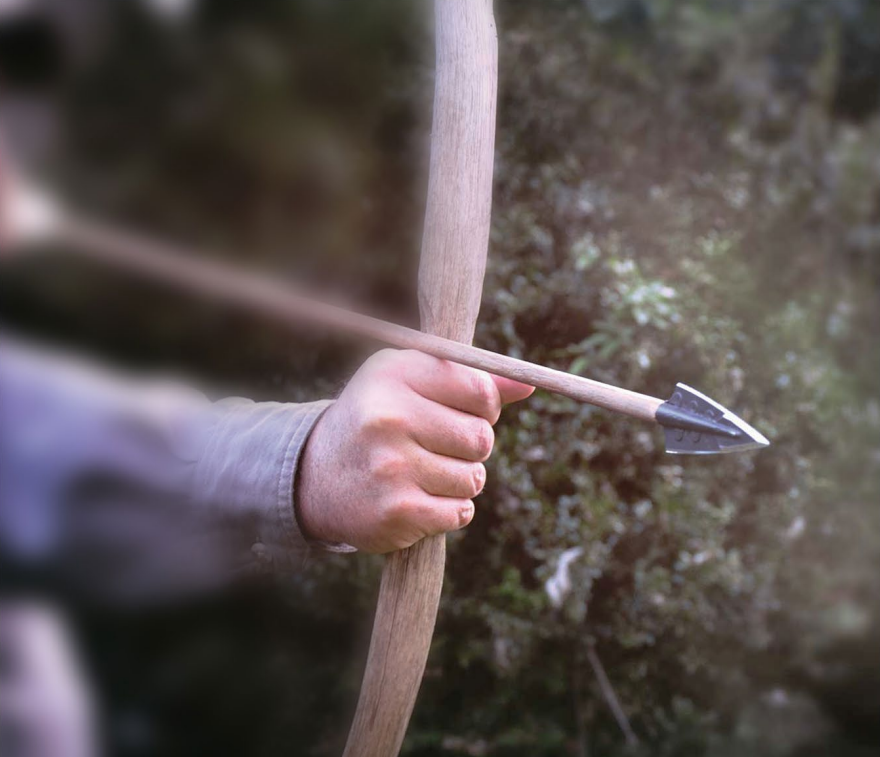
String It
Add a proper bow string, made from the strongest material you have. To eliminate the natural stretch of 550 cord (yes, it stretches), you can twist it before loading it on the bow. Once strung, you’ll want about 5 inches of space between the bow string and the grip.
Avoid a Broken Bow!

Just as there are different ways to create bows, there are also plenty of ways to break them. To help prevent the destruction of your field-built bow, pay heed to this list of mistakes and prevent others from breaking your hard-earned bow.
1. Don’t Chop at Your Stave New bowyers are the most common offenders when it comes to chopping too deeply into a prospective bow stave. Their excitement is only natural, and they are eager to make a bow ASAP. This exuberance leads to them hacking away at the stave too hard, and often cutting too deep – especially when roughing out a bow with a hatchet or machete. Instead of chopping at the bow, make careful slices from the wood. Take off shavings rather than chunks and avoid thinning down any one spot too deeply. A chop in the belly means that the back will bend too much in one spot, a sure way to break the back when the bow is drawn.
2. Never Damage the Back Legolas the wood-elf prince may be able to block orc sword blades with his mystical bow (I’m such a nerd), but don’t try that at home. Any time you damage the back of the bow, you are wounding the most vulnerable part of the bow and likely destroying the weapon. If you try to carve designs into the back of the bow, trim off material, use it for a walking stick or sword fight with it – you’re beating up the side of the bow that is under tension when the bow is drawn. It only takes a little damage to create a bow-breaking weak spot.
3. Don’t Overdraw a Bow Overdraw occurs when you draw a bow beyond the point where it was designed to go. If you’re a shorter bow maker, watch out! When that tall person wants to shoot your bow, just say no. Their long and gangly arms will likely overdraw the bow, which will probably break it.
4. Never “Dry Fire” a Bow It’s called “dry firing” when you pull back a bow string and release it without having an arrow on the string. Never do this! It sends a tremendous amount of shock through the bow stave, potentially damaging it. You’ll always need an arrow on the string to absorb the force of each shot.
This article was originally published in Survival Dispatch Insider Volume 3 Issue 1.
=====
Become a Survival Dispatch Insider …
We bring together survival enthusiasts and preppers to share skills and knowledge, so you can enhance your preparedness for emergencies and ensure the safety of you and your community.
The Results You’ll Get …
Our community, courses, and memberships are pretty special. We’re focused on the ways it will make a huge difference in your life.
Here are a few of the things you’ll be able to do as a member of Survival Dispatch Insider …
1) Improve your emergency preparedness by learning survival skills and strategies from experienced preppers.
2) Build lasting connections with like-minded individuals that share your passion for safety and readiness.
3) Access a wealth of knowledge and resources to assist in protecting you and your community during unexpected situations.
Click HERE to get started.
=====