


No matter how safe you are, the idea of a home invasion is unnerving. It’s vital to ensure your environment is secure, whether in a camper, house, or apartment.
Sometimes, you want to protect your space from intruders. Other times, you might have a vulnerable household member who shouldn’t leave the building or structure without someone else.
Security bars can get expensive, but you can build one that is just as sturdy. Here are five steps to creating a DIY door security bar.
1. Choose the Style
The first step to creating your security bar is choosing which style you want for your home or business. There are two common types: vertical and horizontal.
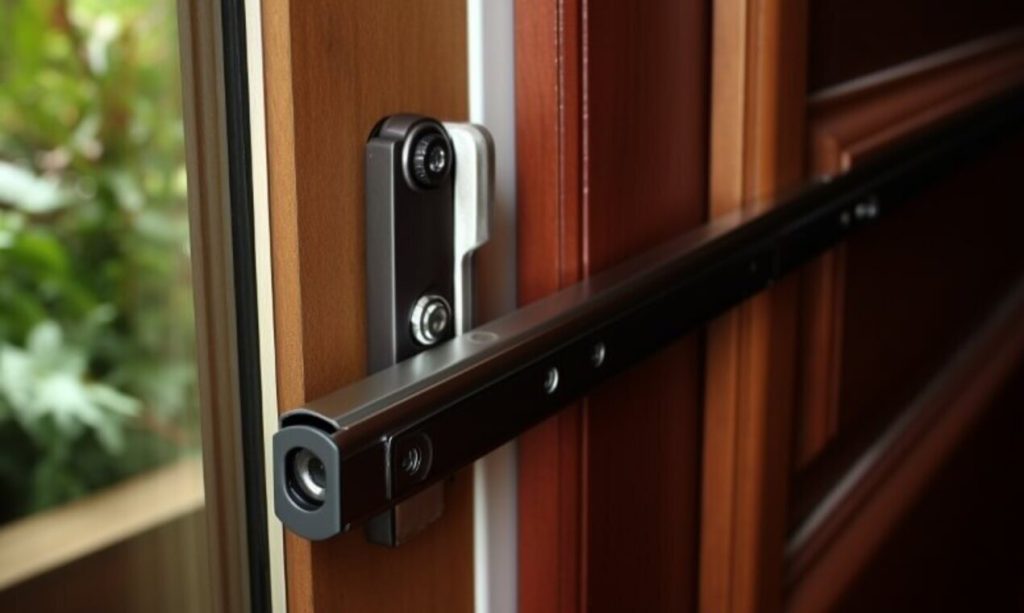
Horizontal bars reinforce the door’s structure by resting across the center. There are removable options that you can secure when needed. You can attach it to the wall beside the door or store it somewhere else in the building and add it when you need to boost your security.
A panic bar is another form of a horizontal security bar. You’ve probably seen them at a school or business entrance. They come with a long, narrow key that fits in a hole, letting you pop the bar out and in to lock or unlock the door.


When locked, the door prevents anyone from exiting. It reinforces other locks that keep people from coming in. An unlocked panic door is easy for almost anyone to operate since you need only put pressure on the bar to open it.
Vertical options use traction against the floor to reinforce a doorknob, preventing someone from getting into a building. You can often adjust the bar to fit different door heights, making it easy to use in multiple locations. Since they don’t require installation, you can use these bars in rental units and hotels.
2. Get a Sturdy Material
Once you know the type of security bar you want to make, you must determine which material you want to use.
A strong material is a must to prevent someone from entering or exiting a building. However, if you are making your security bar, you might not want or be able to spend hundreds of dollars.
Thankfully, there are several options, including the following:
-
Aluminum: Aluminum is a relatively inexpensive, lightweight material easily cut to suit your needs. It is also strong enough to reinforce doors.
-
Iron: Iron is a heavy, sturdy material popular for securing doors and windows. You can purchase rolled or flattened iron to form your security bar.
-
Steel: Steel is a common material for vertical security bars. It’s lightweight but provides an inflexible option that can serve as the bar’s base.
-
Wood: A thick piece of lumber works well as a DIY security bar. You can make it as fancy or basic as you desire as long as you can secure the plank.


3. Cut to Size
It’s time to get to work. There are two necessary steps and other optional ones depending on your desired outcome.
The first step is to cut it to size. The most common tool to use when cutting metal is a circular saw. It can go through sheets and rods without damaging the surrounding area. You could also use a hacksaw. Tin snips also work for sheet metal.
Other options include a circular saw, table saw or jigsaw for a wood bar. You could also use a hand saw or hatchet if you don’t have power tools. Chisels can chip away at rough edges and, with a knife, allow you to create carvings.
You’ll need to measure your door when shut and locked to know how it will fit. If you are making a bar that fits inside the doorframe, your measurements will have to be more careful. If it sits across the doorframe, it can overhang the edges by any amount. Cut it a bit longer than you measured at first and then you can always cut it down further for a better fit.
A vertical bar must be measured diagonally from the bottom of the doorknob to the floor. The bar must sit that way to reinforce the door.
Save time, money, and resources by cutting your bar conservatively, gradually taking more off until it securely fits.
4. Attach it to the Door
Now it’s time to attach the completed bar to your door. You will need strong reinforcement to temporarily or permanently install it.
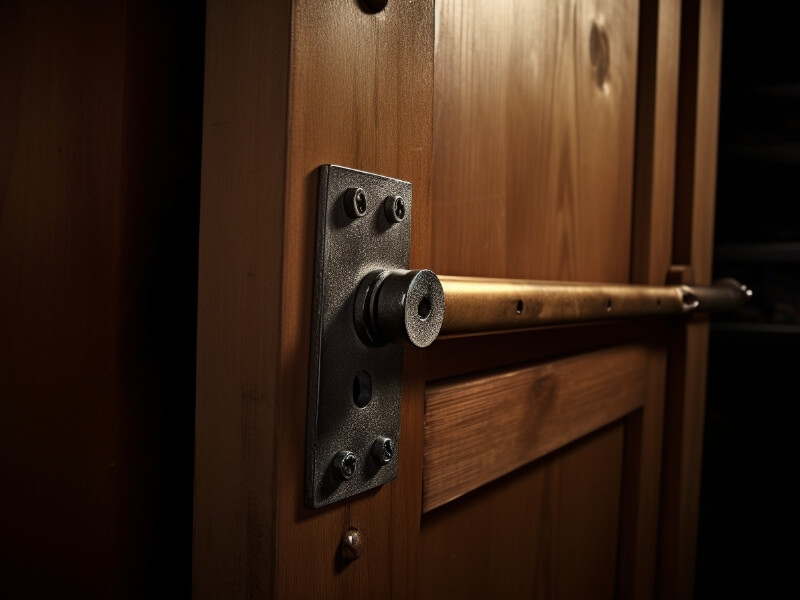
Panic bars or options that swing across the door from the wall will need appropriate screws to drill into the door, wall or doorframe. A self-tapping screw is a good, inexpensive option. It makes a small hole and creates less damage while ensuring a snug fit. You can also use a hammer and nails to secure hooks on either side of the door for removable bars.
You don’t need to attach anything to your door or wall for a vertical bar. However, you should add a slip-resistant material to both ends to form a stable base and hug the doorknob. Rubber is a standard option to keep your bar from moving when someone tries to open the door.
5. Test the Bar
Once you secure your bar to the door or wall, you must test it to ensure it protects your home. You’ll likely need another person to try it unless you have a second entryway you can use to go back and forth.
You’ll want to act like an intruder that tries to get through the door you have your bar on. Shake and put pressure on the door to see if the bar holds it shut, not budging enough to set off an alarm or provide access for an arm or leg. If you are using the bar for a child or person with developmental challenges who should not leave the home, try to open the door from the inside and see if it moves.
Conclusion
A door security bar can make your home, office or travel location safer for you and others. Follow these steps to create the right one for you.
=====
Become a Survival Dispatch Insider …
We bring together survival enthusiasts and preppers to share skills and knowledge, so you can enhance your preparedness for emergencies and ensure the safety of you and your community.
The Results You’ll Get …
Our community, courses, and memberships are pretty special. We’re focused on the ways it will make a huge difference in your life.
Here are a few of the things you’ll be able to do as a member of Survival Dispatch Insider …
1) Improve your emergency preparedness by learning survival skills and strategies from experienced preppers.
2) Build lasting connections with like-minded individuals that share your passion for safety and readiness.
3) Access a wealth of knowledge and resources to assist in protecting you and your community during unexpected situations.
Click HERE to get started.
=====