


SDN has moved!
Subscribe to our new @SurvivalDispatchNews Youtube channel

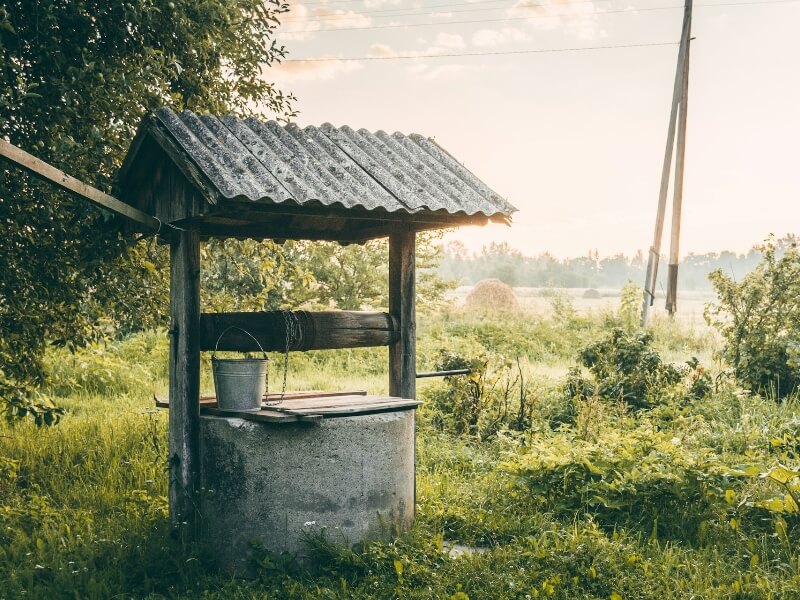
Simplicity and affordability are notable dug-well advantages. You can build one by hand or use a mini excavator to access a shallow aquifer without spending a fortune. Follow these five steps if you intend to do the heavy lifting but don’t know where to start.
1. Identify a Suitable Spot
Shallowness renders dug wells significantly prone to contamination. The underground water isn’t deep enough for the ground to filter out impurities. Choosing a good location mitigates this risk.
An ideal spot must be accessible yet far enough from your house and nearby residences to reduce the chances of contamination. If your neighbors have private wells, avoid digging yours too close to them to ensure everyone gets enough water for their needs.
Other well location considerations include:
– Geology
– Surface water proximity
– Waste
– Flood proneness
Your chosen location’s soil type can dictate the degree of excavation difficulty and water flow. Digging close to a surface water source, a place with high concentrations of human, animal or industrial waste, or an area prone to stormwater runoff can bring various pollutants to your well.
2. Consult With the Local Authorities
A private well project has legal implications. States govern groundwater matters using various doctrines — such as Prior Appropriation, Absolute Dominion and Restatement of Torts — varying from jurisdiction to jurisdiction. Sometimes, the state delegates the responsibility to county or city officials. Unless you’re a lawyer specializing in your region’s water rights, you probably know little about what you can and can’t do.
Contact your state, county or city government’s appropriate agency for information. The authorities can guide you through the relevant laws and regulations. They can help you navigate your project’s intricacies more easily by advising you about the requirements, including which permit to pull and whether you must hire a professional installer when adding a pump to your water system.
Moreover, discussing your situation with the local water resources department lets you know whether your project is feasible. This office is the authority on regional aquifers. It can evaluate how deep you need to dig to hit the water table underneath your prospective well site and get an adequate yield to satisfy your household’s daily needs.
3. Finalize the Well Design
Online blueprints show you a detailed anatomy of a well-constructed dug well. Generally, every good one has a durable casing sealed along the outside to render it collapse-proof and watertight. Caping and mounding keep surface contaminants like dirt particles at bay.
Your best bets for a casing are interlocking concrete tiles, steel, plastic and fiberglass. Cinder blocks, sewage piping and corrugated plastic are the least safe. Pouring a bentonite clay sealant or cement grout is vital to encapsulate the casing.
You must cover the casing since it sticks out of the ground. Securing and sealing the cap should go without saying to ensure the water filling your well only comes from the bottom. The suitable cover material depends on the casing type. Concrete is the most popular, while wood is ill-advised. Grading the land area surrounding the wellhead is necessary to divert water away instead of ponding near it.
Regarding pump systems, your dug well’s depth and diameter determine the appropriate product. Centrifugal pumps are typical, although the submersible kind may be an option. You may need a storage tank if your well’s flow rate can’t keep up to meet peak water demand.
4. Develop an Excavation and Backfill Plan
Digging and dealing with the dirt afterward is taxing. Decide how you want to proceed before making a hole.
Many do-it-yourselfers try their luck with a hand auger or a well point. Although either tool is helpful, these methods can take you forever to find water. The water table in your chosen spot may be deeper than you initially expected. You may also have to select a different location for better results. After numerous failed attempts, many use a specialist like a hydrogeologist, while others hire a dowser.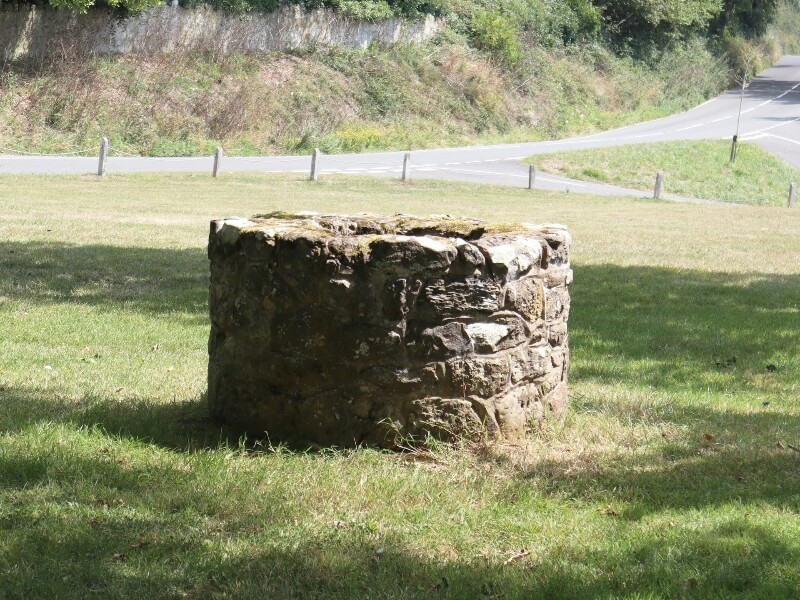
Scooping out dirt for hours to no avail can be grueling. You can always rent a mini excavator to go through trial and error more conveniently. This compact earthmover’s operating weight can be less than 10,000 pounds, allowing you to haul it onto a trailer or the back of a utility truck with a standard Class C California driver’s license.
Operating this heavy equipment can help you achieve in hours what you would otherwise accomplish in days. This steel beast of burden will lighten your load if you need to dig several holes tens of feet deep to find an excellent well candidate.
Keep backfill in mind during excavation. Place soil layers in separate piles and return the dirt into the hole in reverse order — the lowest layer comes first. This technique helps safeguard your well water from contamination since the soil nearest the surface usually contains more pollutants, such as manganese, iron and bacteria.
5. Source Project Essentials
You can buy or rent the tools you need. If you use a mini digger, visit a dealer’s office to see the machine and arrange a demonstration. Then, give it a whirl under a skilled professional’s supervision.
Timing is everything in material procurement. You must have sufficient critical components to secure the well immediately. Consider ordering backup supplies to sustain construction if you underestimate the needed materials.
Avoid assuming your deliveries will arrive on time. You may receive your supplies later than expected, as lengthy lead times bog down the construction sector.

Build Your Well Prudently to Avoid Digging Deep
Digging a well may seem simple, but it can involve considerable elbow grease. Tackle your project confidently after scratching the surface of dug-well planning and construction.
=====
Become a Survival Dispatch Insider …
We bring together survival enthusiasts and preppers to share skills and knowledge, so you can enhance your preparedness for emergencies and ensure the safety of you and your community.
The Results You’ll Get …
Our community, courses, and memberships are pretty special. We focus on the ways it will make a huge difference in your life.
Here are a few of the things you’ll be able to do as a member of Survival Dispatch Insider …
1) Improve your emergency preparedness by learning survival skills and strategies from experienced preppers.
2) Build lasting connections with like-minded individuals that share your passion for safety and readiness.
3) Access a wealth of knowledge and resources to assist in protecting you and your community during unexpected situations.
Click HERE to get started.
=====