


I cannot emphasize the importance of fire in a survival scenario enough. Food, water, and shelter are important, but fire is the fastest way to get warm and stay that way. You may think that there are certain environments in which fire wouldn’t be important. Just considering warmth, I haven’t found this to be the case. No matter the location or the time of year, I’ve ended up cold at night in over 90% of my survival challenges. Fire always has been my go-to solution for this problem.
In addition, fire offers so much more than warmth. It can help you purify water, cook food, scare away predators, repel insects, and light your camp.
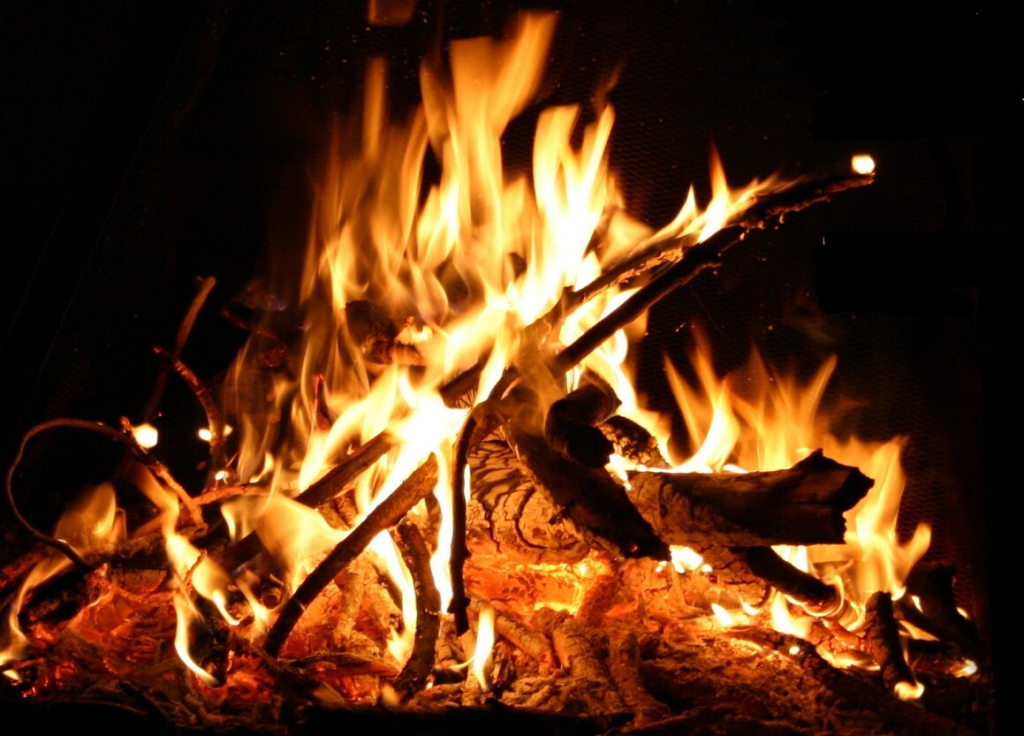
Perhaps the most valuable gift that fire offers is morale. At the end of a long day, successfully building a fire can give you a great sense of accomplishment. There is nothing quite so rewarding as staring into a warm, crackling fire at night. It always helps me reset for the following day.

However, fire is never a given. Even with all the right tools and a fire pit, there’s been times I haven’t kept a fire going due to sloppy technique. There have also been times that I couldn’t get a fire going using perfect technique because of the weather.
On my first winter survival challenge, I was unable to get the fire going as the sun went down behind the hills. With no fire and a shabby shelter, I started to shiver immediately. It was -1 deg F with 20 mph winds and several inches of snow causing dangerous conditions. I started to notice the first signs of hypothermia around 1:00 am and had to tap out.
My fingers and toes were numb and tingly for about two weeks after that. However, I knew what had caused my downfall and wasn’t going to give up. I just needed fire. I reviewed my notes and decided to try again the following weekend with similar conditions.
This time, as I headed back out into the snow, I found some birch bark and had my ferro rod with me. The birch bark has a chemical that will light even when wet, so my fire was roaring quickly. It wasn’t a comfortable night and I had to lie next to the fire until dawn. This time around, I completed the challenge successfully.
In this article, I will cover all of the unconventional ways that you can start a fire in the wild. While my suggestion is to always have a lighter and matches in your bug out bag, I will be skipping those to focus on more primitive methods.
The Foundation
To be successful starting a fire with any method, you first need a good foundation. This consists of the materials that you collect in advance. Tinder is by far the most important supply needed to get your fire going. This is the fine, fluffy material with lots of surface area that should catch a spark or flame. If you have dry conditions, then dried grass, leaves, or pine needles can work. However, don’t lie to yourself. If there is any moisture present, these materials should be backup tinder. As they dry out from flames, they will start to catch fire.
For primary tinder, you need materials that will work even when wet. This includes cattail fluff, feathers, birch bark, pine resin, and bird’s nests. Add these materials to the rest of your tinder for a good-sized bundle at least four inches across.
You also should be sure you collect plenty of dry firewood before starting your fire. Kindling includes any dry sticks up to an inch in thickness. Gather these from dead branches that are up off of the ground. They should make a snapping sound as you break them off. This means they are dead and dry.
Fuel wood is everything larger and may need to be split to expose interior wood or stripped of wet bark. Your bundle of kindling should be just big enough to fit both arms around while your stack of fuel wood should be knee-high. The general rule for firewood is to collect what you think is needed and then double it.
Char Cloth

I think it’s worth mentioning how valuable a fire assistance product called char cloth can be. This is a DIY product that will catch a spark or work with a lens to create an ember. That ember will burn from 30 seconds up to several minutes.
To make char cloth, first cut up a piece of 100% cotton fabric like an old t-shirt. The pieces should be two inches by two inches or smaller. Then take a mint tin and punch a tiny hole in the top. Put the cloth inside and throw it in the fire for 20 minutes. Your finished product should be very fine and completely black. The fire has burned off all impurities, leaving pure carbon. Carry your tin of char cloth with you whenever possible.
Ferro Rods

By far my favorite fire starting method is using a ferro rod. This is a metal rod that is struck with a high carbon blade to produce a spray of sparks. It’s waterproof, windproof, and requires no fuel. The key to using a ferro rod is finding the right kind of tinder. Not all tinder will light from sparks. Collect the driest, fluffiest tinder that you can find. Dry grasses can work well if you get fine blades. If you want to increase the odds of success, use some of the waterproof tinder listed above. You can also use fire assistance products such as WetFire cubes or an accelerant.
On my very first survival challenge, I tried for hours to light tinder with a ferro rod. About an hour after dark, I remembered there was alcohol based poison ivy treatment in my first aid kit. I cut off a piece of my t-shirt and put a few drops of the liquid on it. It lit in seconds and I had a roaring fire a few minutes later.
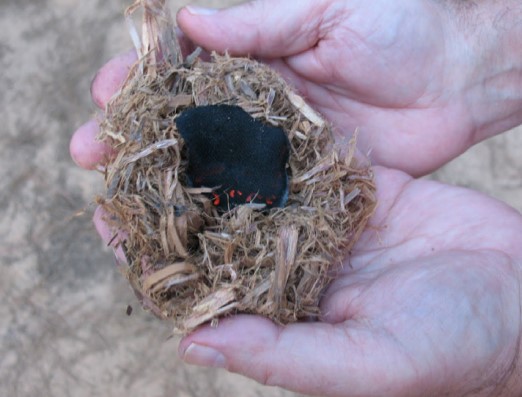
If you have a small ember, it’s important to handle your tinder properly. It should start as a bird’s nest shape. Once you have an ember in the center, pull the sides up gently to create a loose ball. Then start to blow gently on the ember. The smoke should slowly increase until it bursts into flames. Do all of this with the tinder bundle in your hands until you have flames.
You can also create a similar effect to a ferro rod by finding the right rocks. A dry creek bed is an excellent place to look. One of them should be quartz or some other type of crystallized rock. The other should be harder or you can use a high carbon blade. Striking the two together should create sparks just like a ferro rod.
Lenses

Creating fire using the sun is a reliable method if you know how to do it. You will need a sunny day and direct sunlight for this to work. Don’t even try it on a cloudy day or in a wooded area.
Again, you will need the right type of tinder. Fire assistance products and normal tinder don’t work well for this. Char cloth is ideal if you have it. Position your lens perpendicular to the sun. Move it closer and further from your tinder until you find the smallest point of focus possible. You’ll then need to remain very still so that the focal point remains consistent. If it’s going to work, you should see a small wisp of smoke within a few minutes. Once you see an ember, ball up your tinder as mentioned above and coax out the flame.
There are also plenty of DIY ways to create a lens for fire. You can bust open any camera, glasses, or binoculars to pull out the lens. You can use a plastic or glass bottle of water as long as it’s clear and the water isn’t cloudy. You can fill a plastic bag or condom with water and create a lens. You can even rub wax or chocolate on the bottom of a soda can to reflect light.
Probably the most difficult method is using ice. Use your bare hands to shape the ice into a lens while smoothing out the surface. Then you will need to prop the ice in place so that it can stay perfectly still for a long time. These DIY methods are not nearly as efficient as a standard survival lens.
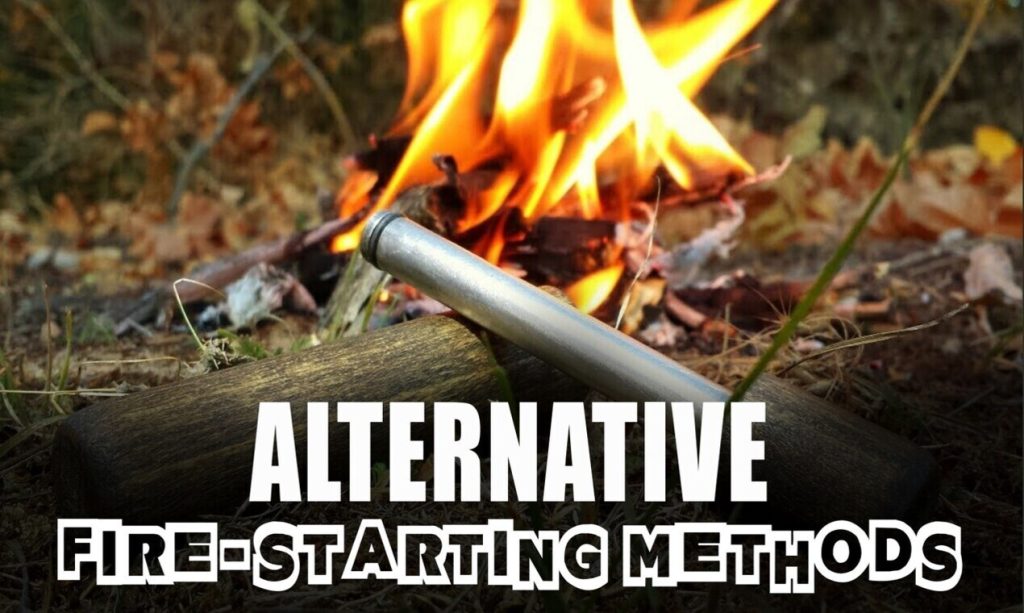
Piston Starter

One of the rarest methods of starting fire is using a piston starter. This method uses air pressure to create heat and form an ember. You have a hollow rod with a handle and place a small piece of tinder in the end. Then you insert the rod inside a cylinder and force it down hard into the cylinder. When you pull it out, the tinder should have an ember that can be transferred to a bundle. The biggest downside is that piston starters can have issues if there is any moisture in the air. This is why survivalists rarely use this type of fire starter.
Friction Fire
It seems like every survival show or article tends to focus on friction fire. While friction fire is one of the few ways that doesn’t use man-made tools, it’s incredibly difficult. It takes years of practice to become proficient with this method. The most difficult part is finding pieces of wood that are of the proper hardness. If the wood is too soft, it’ll fall apart. If it’s too hard, you won’t get enough friction. It will take a great deal of trial and error to find ideal wood.
The first piece you need is the fireboard. Many people will carry the fireboard with them in their pack once they find a good one. It’s the most difficult piece to replicate. You need to find a piece of medium hardness wood that can be split into a flat board less than one inch thick. An ideal size is three inches by one foot or more.

Carve out an indentation in the board along the long edge of the board. Then cut a narrow V on the side of the board next to the indentation. The indentation will allow you to create friction while the ‘V’ allows embers to fall below the board.
You’ll need a spindle which is a medium hardness stick. It should be less than an inch thick and six to twelve inches long. The bottom end needs to be rounded to fit perfectly in your fireboard indentation. The top needs to be pointed to create as little friction as possible. You’ll need a handhold to press into the top of your spindle and hold your spindle in place. This will either be a hard piece of wood or stone that should have an indentation. Make sure it’s small enough to fit in your hand comfortably. Finally, you need a bow. This is a curved stick about three feet long. You’ll need to tie cordage from one end to the other so that it’s relatively tight.
To operate the bow drill, you need to place your fireboard on the ground with a leaf or rock under the V. This is to catch the ember. Place your left foot on the part of the fireboard with no indentation and kneel on your right knee.
Place the spindle in the indentation on the fireboard and use the handhold in your left hand to hold it in place. The bow should be in your right hand and the cordage should be wrapped around the spindle so it’s on the outside. Then run the bow back and forth until there is steady smoke with an ember form in the V. You’ll then transfer it to the tinder bundle and start your fire.
Final Thought
A good firestarter can make all the difference in starting a fire in any survival scenario. It’s important to have a plan on what you’re going to use. Then practice with it. These steps could make the difference between freezing and leaving or successfully completing your survival challenge.
This article was originally published in Survival Dispatch Insider Volume 1 Issue 3.